Extend a Personal Network to Azure: Virtual Network
July 19, 2023 - 5 min read (966 words)
To start out the project, we need to create some foundational Azure resources that are common for infrastructure-as-a-service (IaaS) implementations. In this post, we will create a resource group for the project and then build a virtual network to support the cloud components of what will become a hybrid workflow. As outlined in the overview post that started this series, this virtual network will have an address space that is designed to overlap with the on-premise network to which it will be connected.
In addition to creating the virtual network, we will create and connect other resources to it to support both the on-premise network and the virtual machines that will be connected to the cloud network. A private DNS zone will be configured and connected to ease and customize name resolution across the hybrid workflow, and a network address translation gateway will be created to give hosts on the network as secure mechanism for internet access even when they are not given public IP addresses of their own.
Table of Contents
- Create a Resource Group
- Create a Virtual Network
- Create and Link a Private DNS Zone
- Create a NAT Gateway
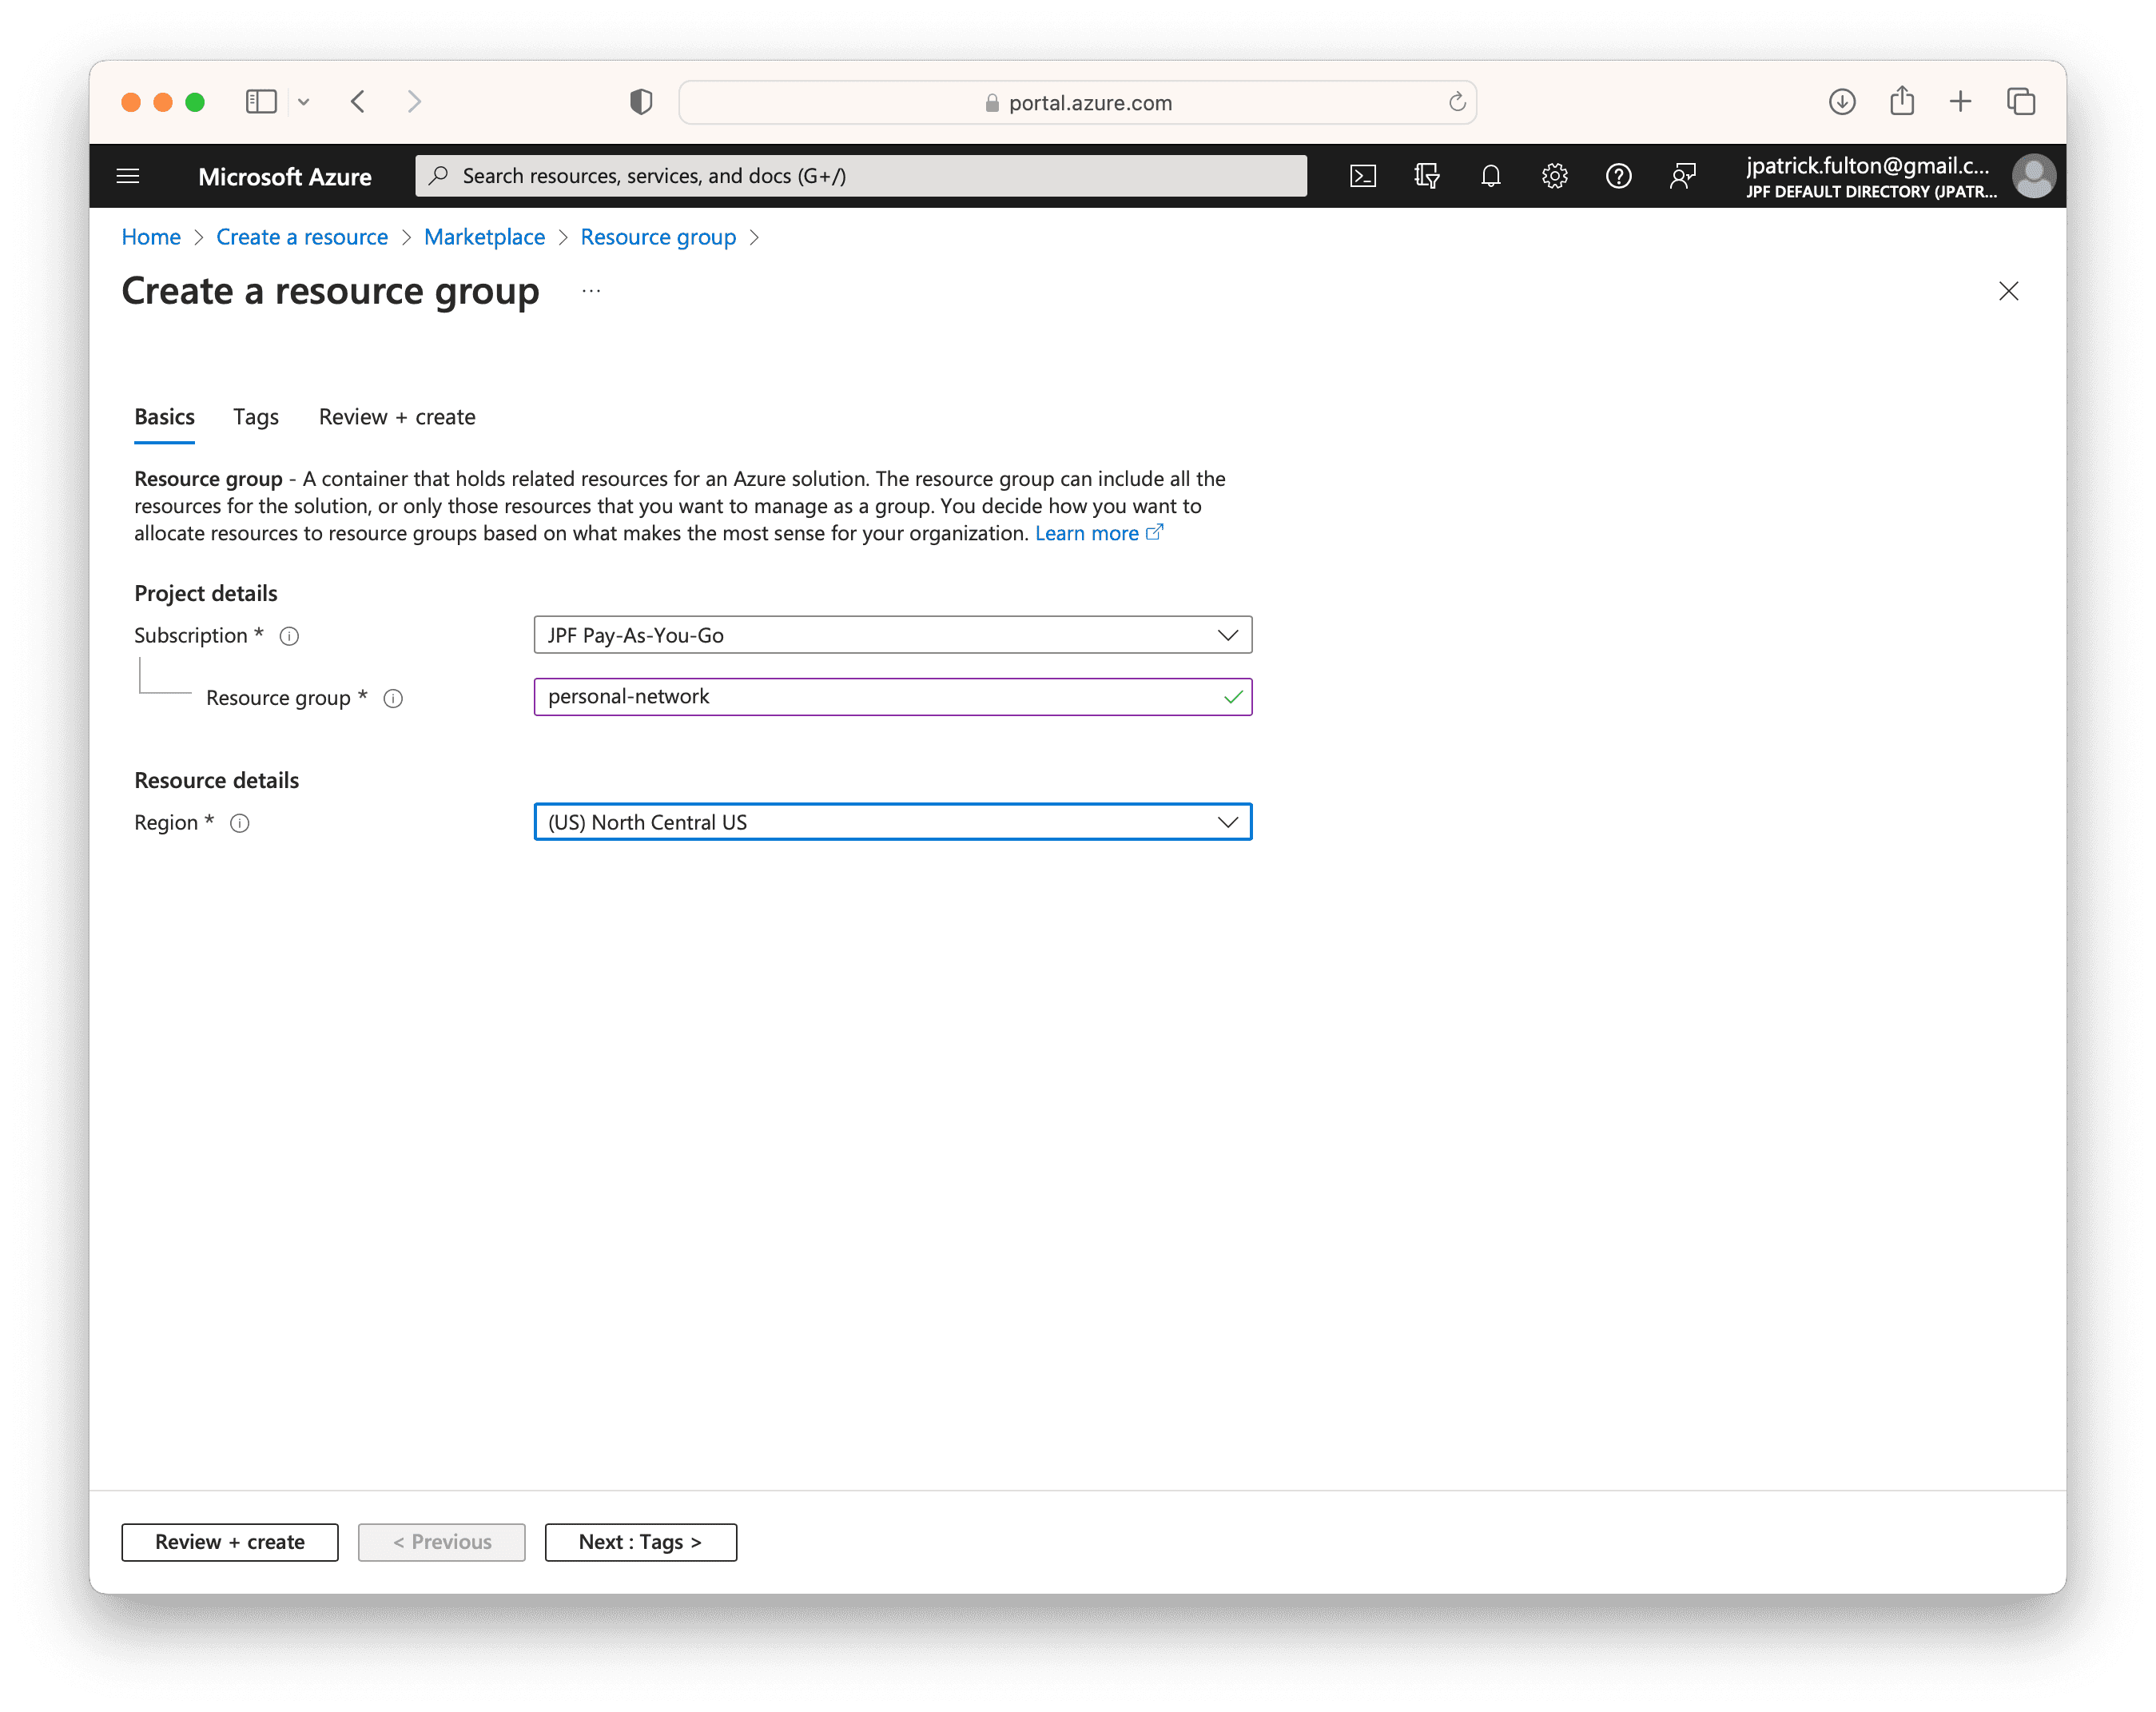
Create a Resource Group
First, we need a resource group to store the resources that will be created for the network and virtual machines it will contain. Resource groups are logical containers for Azure resources. They provide a grouping mechanism and are also useful in cost tracking. Each resource group is associated with a default region for the resources that are created within it. However, they may contain resources from a variety of Azure regions.
From the Azure portal home screen, select Create a resource and search for resource group to create the container. Provide a name and select a default region.
Create a Virtual Network
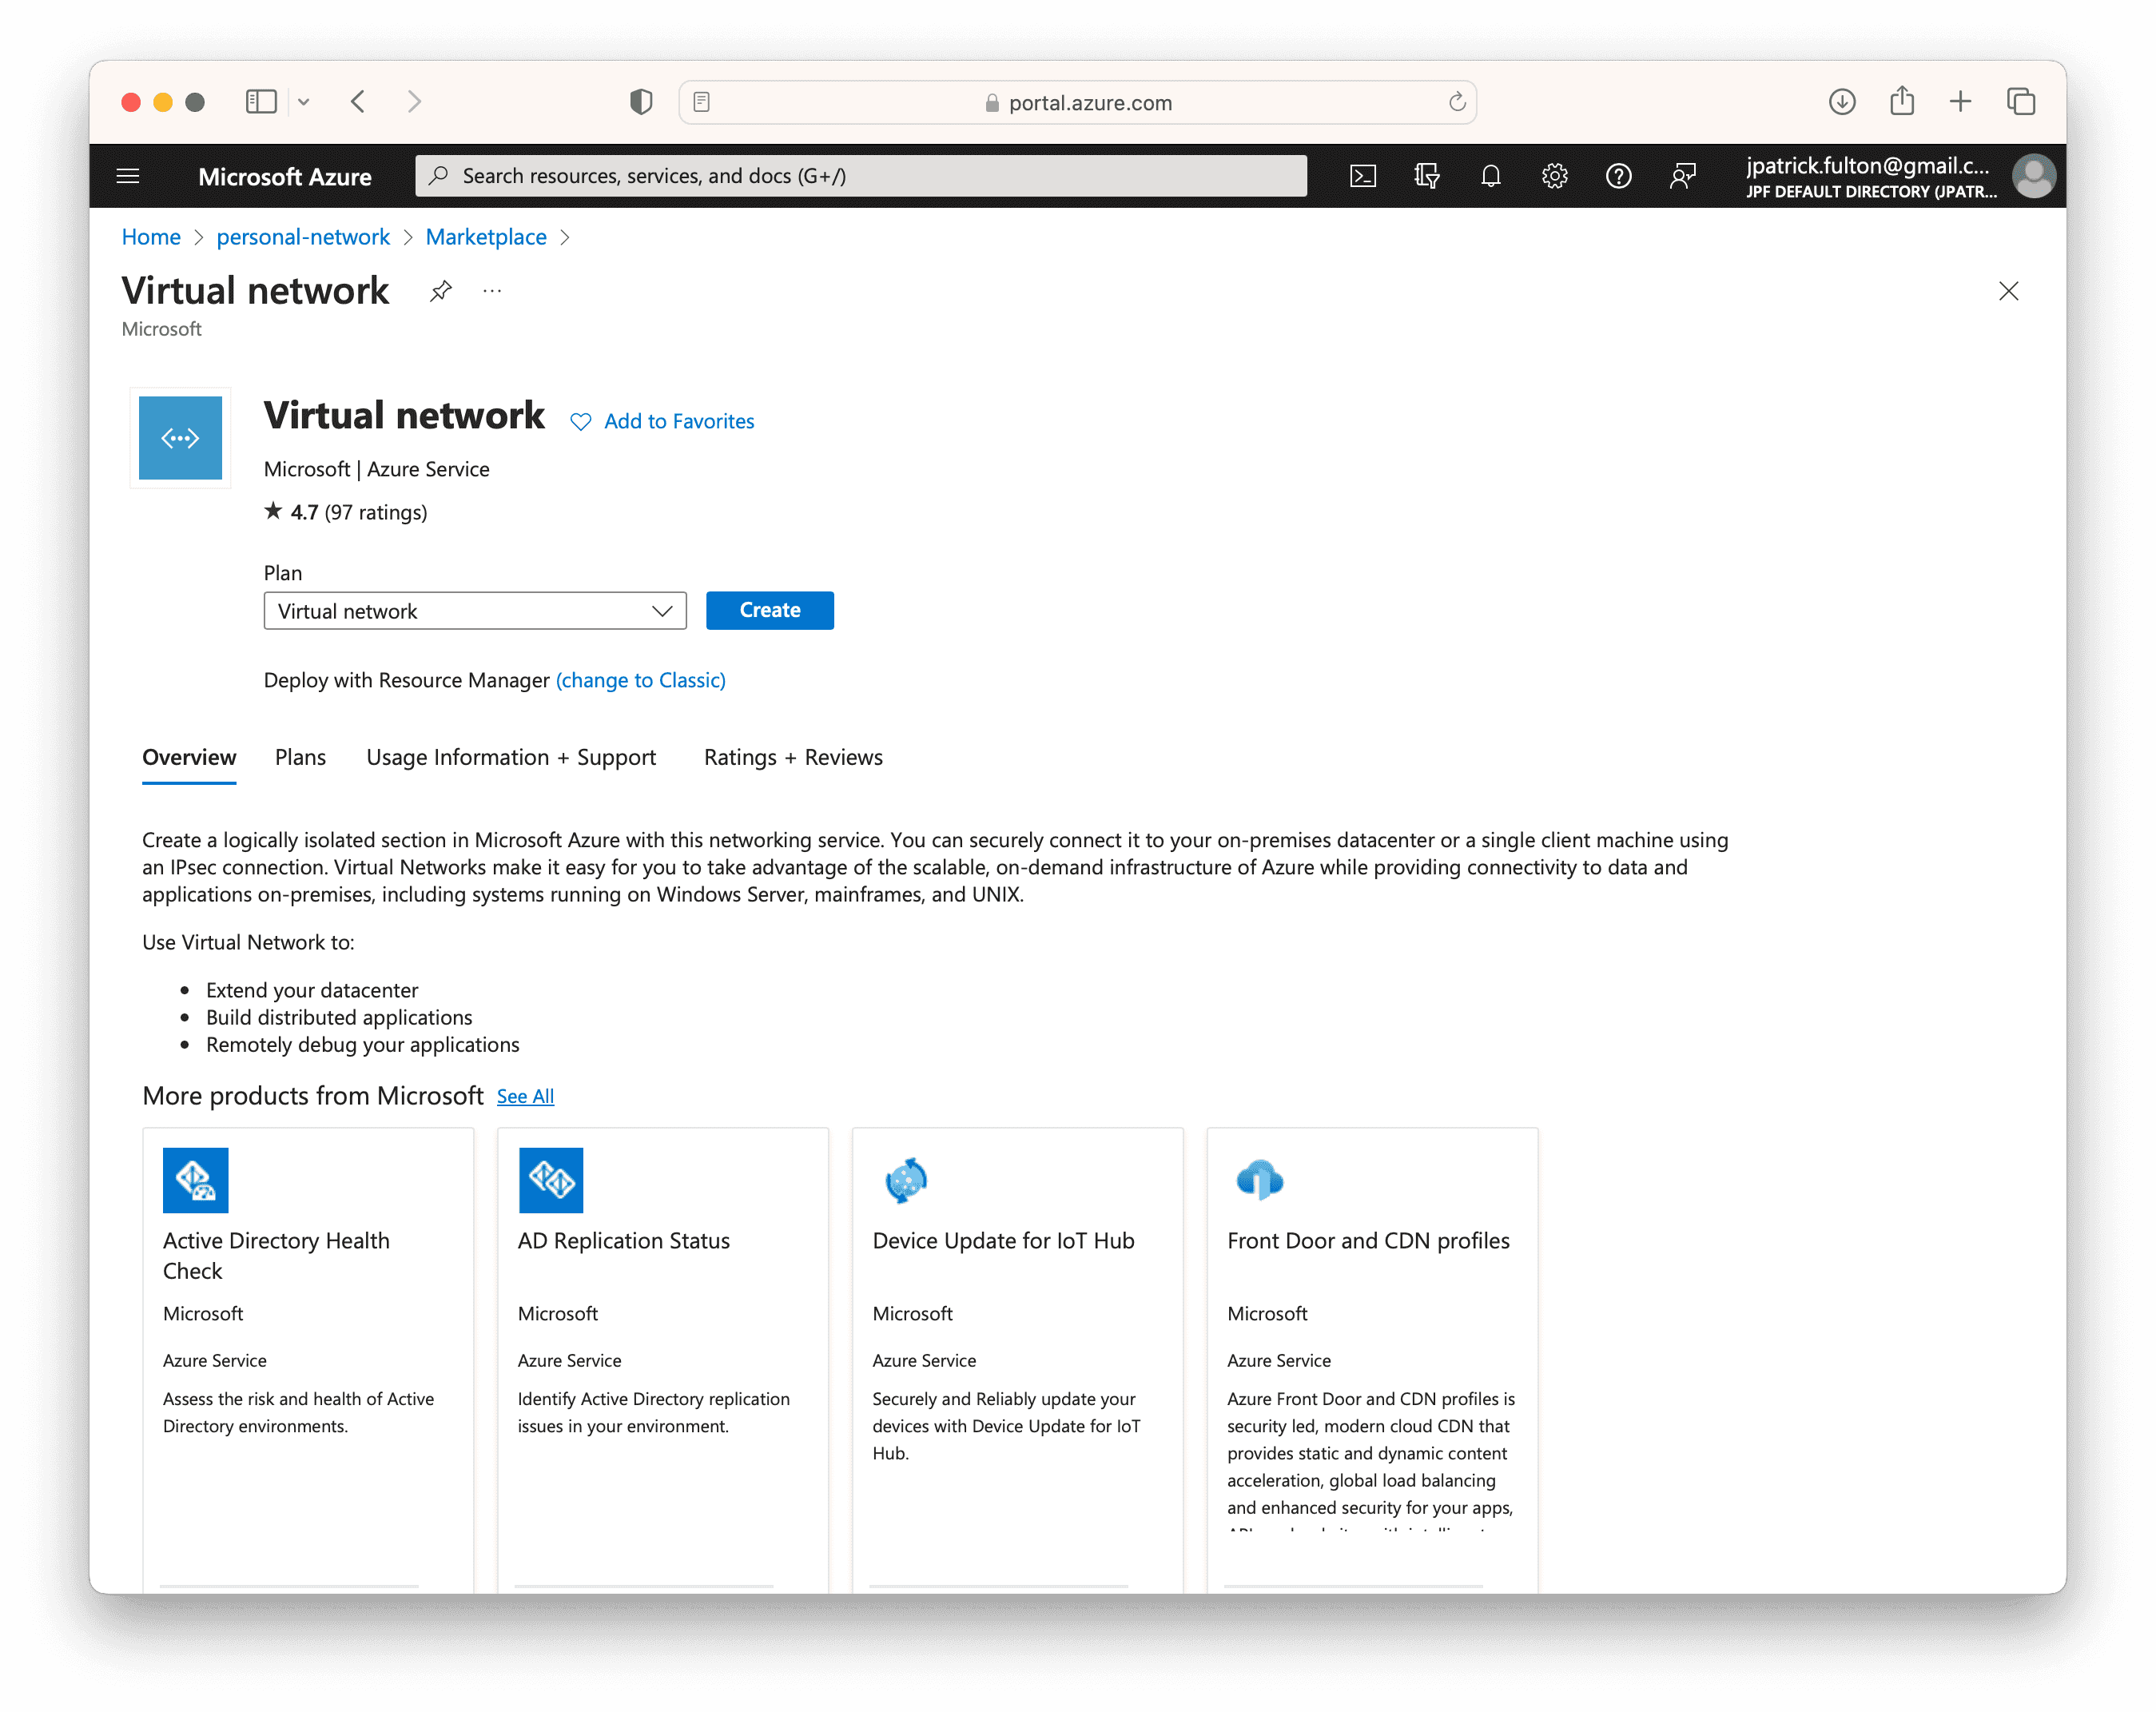
The first resource needed for this project is a virtual network. A virtual network is similar to a traditional network. However, its simulated nature brings isolation and allows resources like virtual machines to communicate securely with one another within the Azure cloud. In this case, we wish to create a network that is addressed in way that is compatible with our home network to avoid the need to perform routing tricks for overlapping address spaces. We will start with a large address space and create a single default subnet.
From the resource group that was created above, select Create and navigate to the marketplace to search for virtual network. Select the Virtual Network option to begin the creation process.
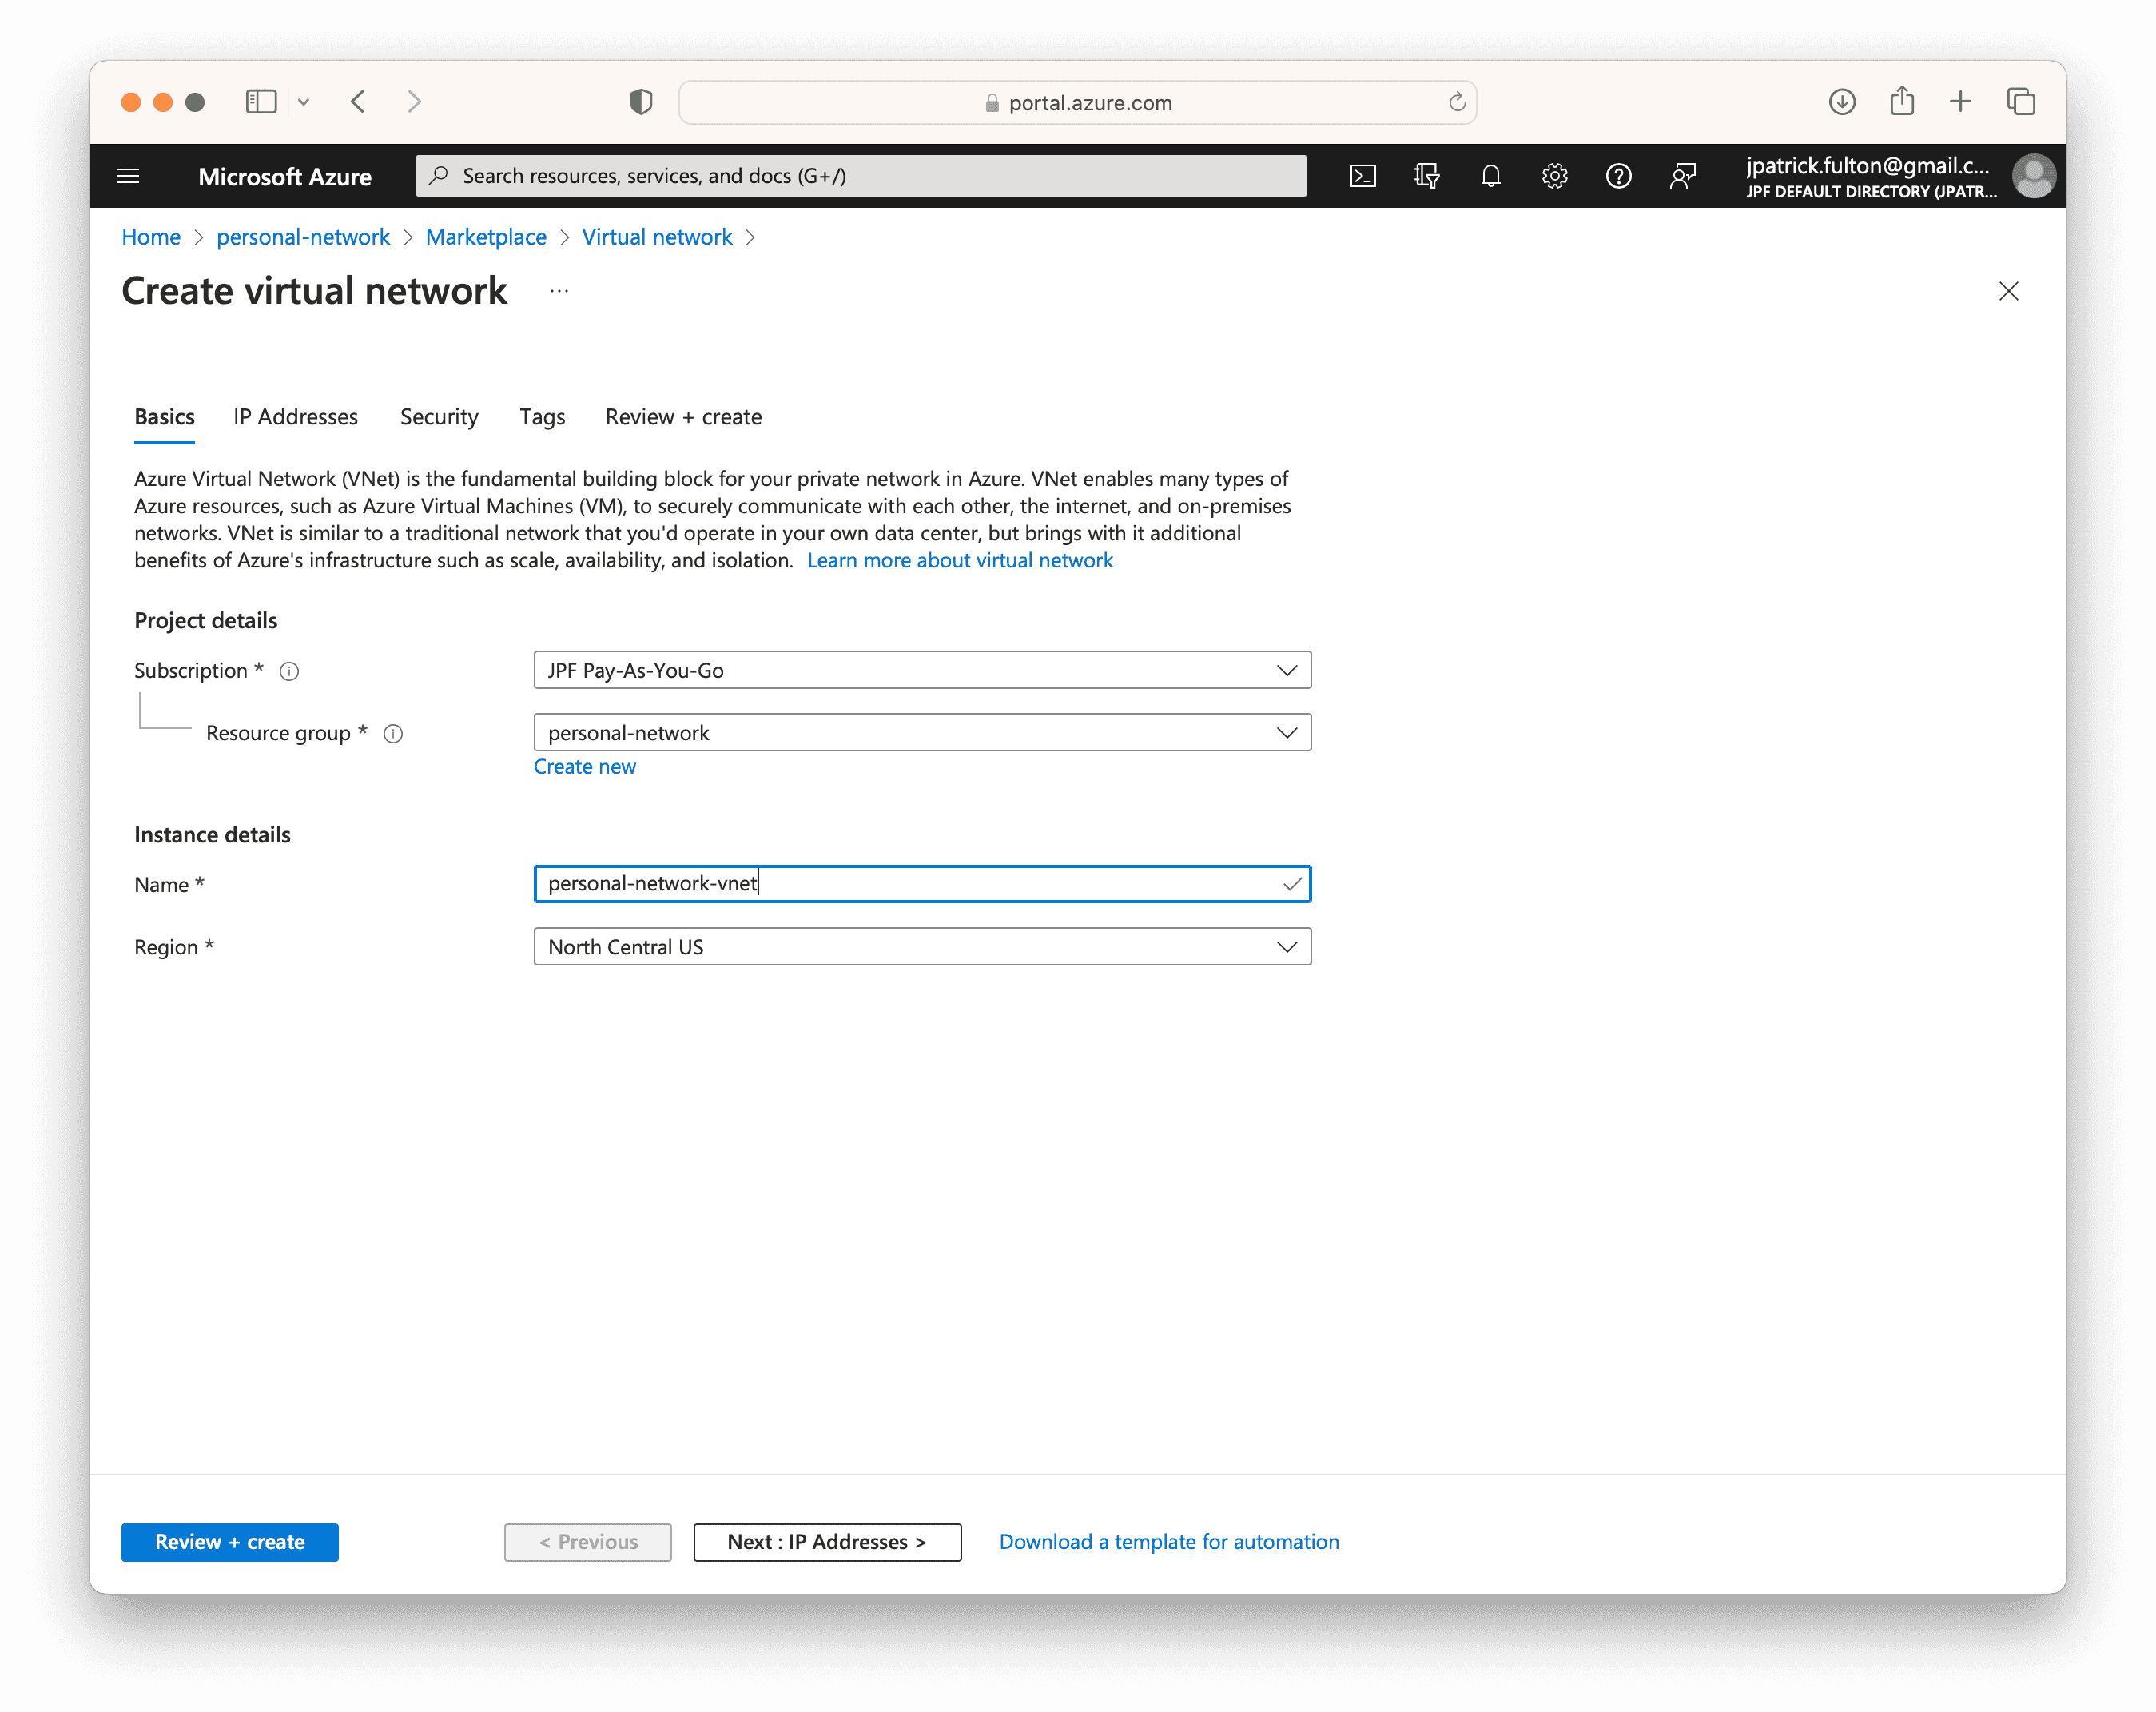
In the first step, select a name for the network resource. The region will be pre-populated from the default region for the resource group.
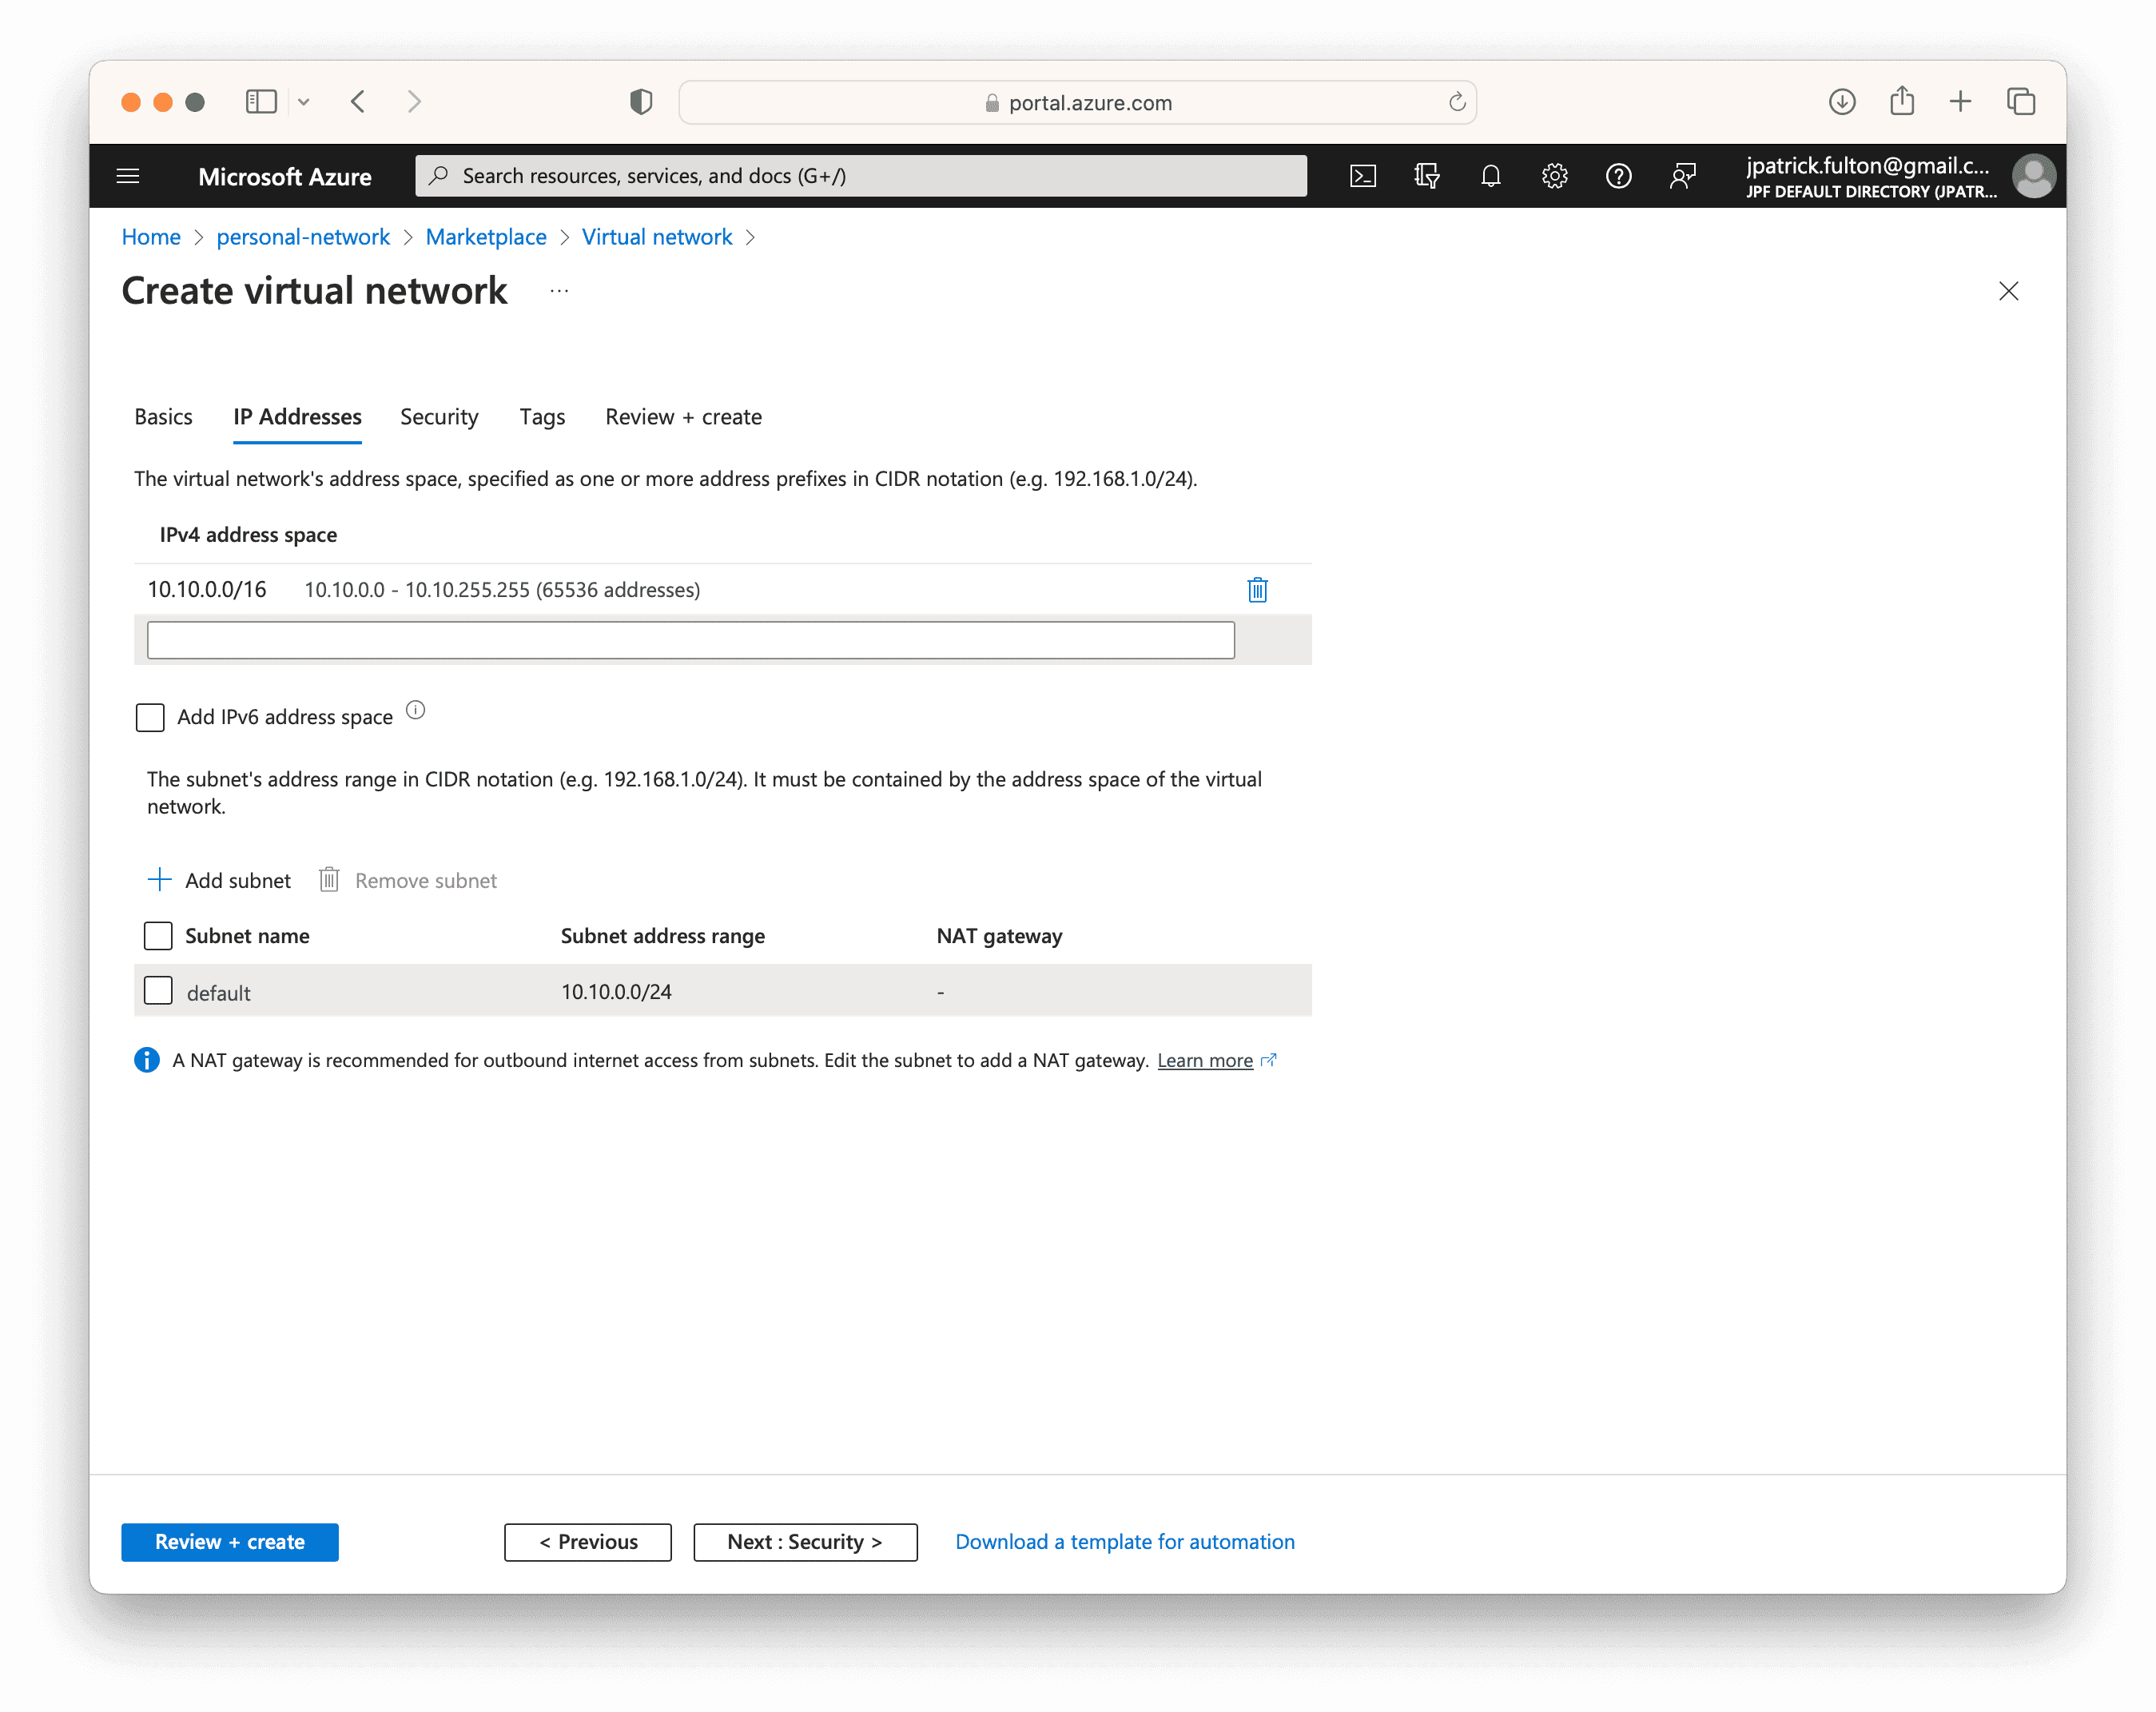
Enter an address space. In this example, I use a large one: 10.10.0.0/16 to allow
for the future creation of several subnets. Create a default subnet with a /24
mask. In a later step, a NAT gateway will be created to allow the network to communicate
with the internet without the use of public IPs associated with each virtual machine
NIC.
Select Review + create to validate the resource and begin the deployment.
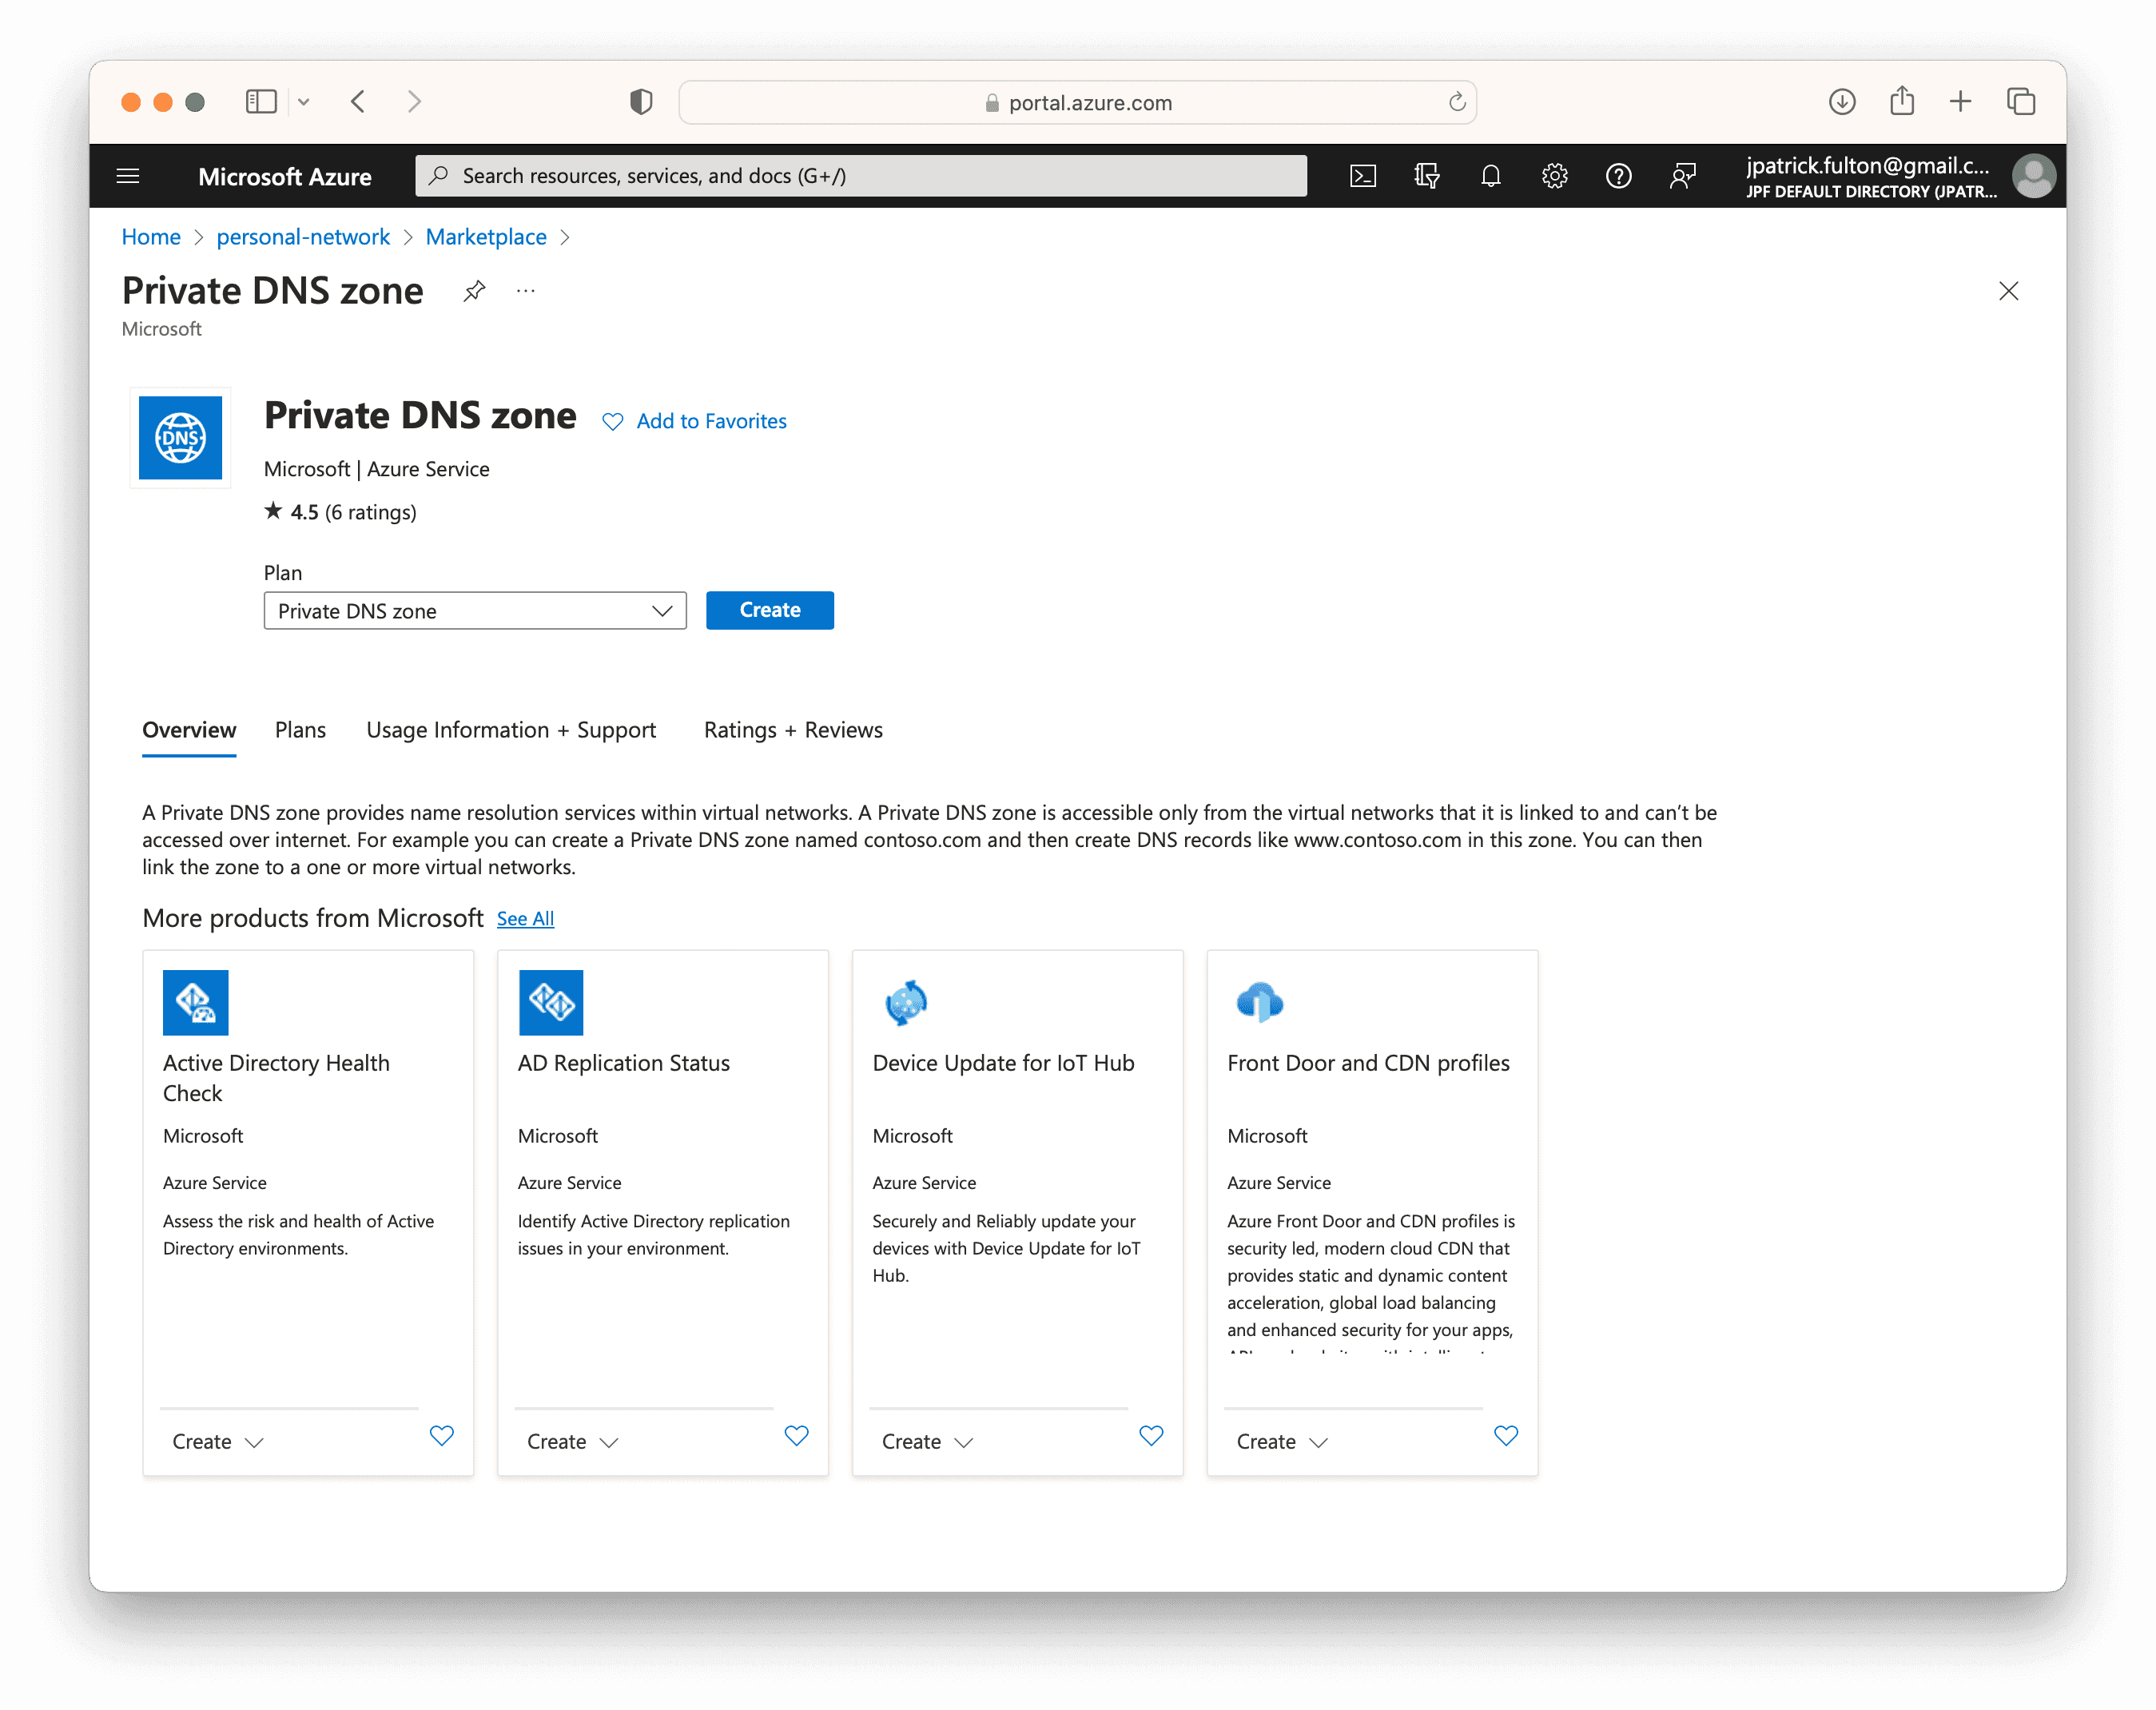
Create and Link a Private DNS Zone
An Azure Private DNS Zone provides name resolution and management within a
virtual network. By default, each virtual machine deployed to a virtual
network is resolvable within the network under as
virtual-machine-name.internal.cloudapp.net. However, using a private DNS
zone, this can be customized without the need for a custom DNS solution.
The records contained in a private DNS zone aren’t resolvable from the Internet. DNS resolution against a private DNS zone works only from virtual networks that are linked to it.
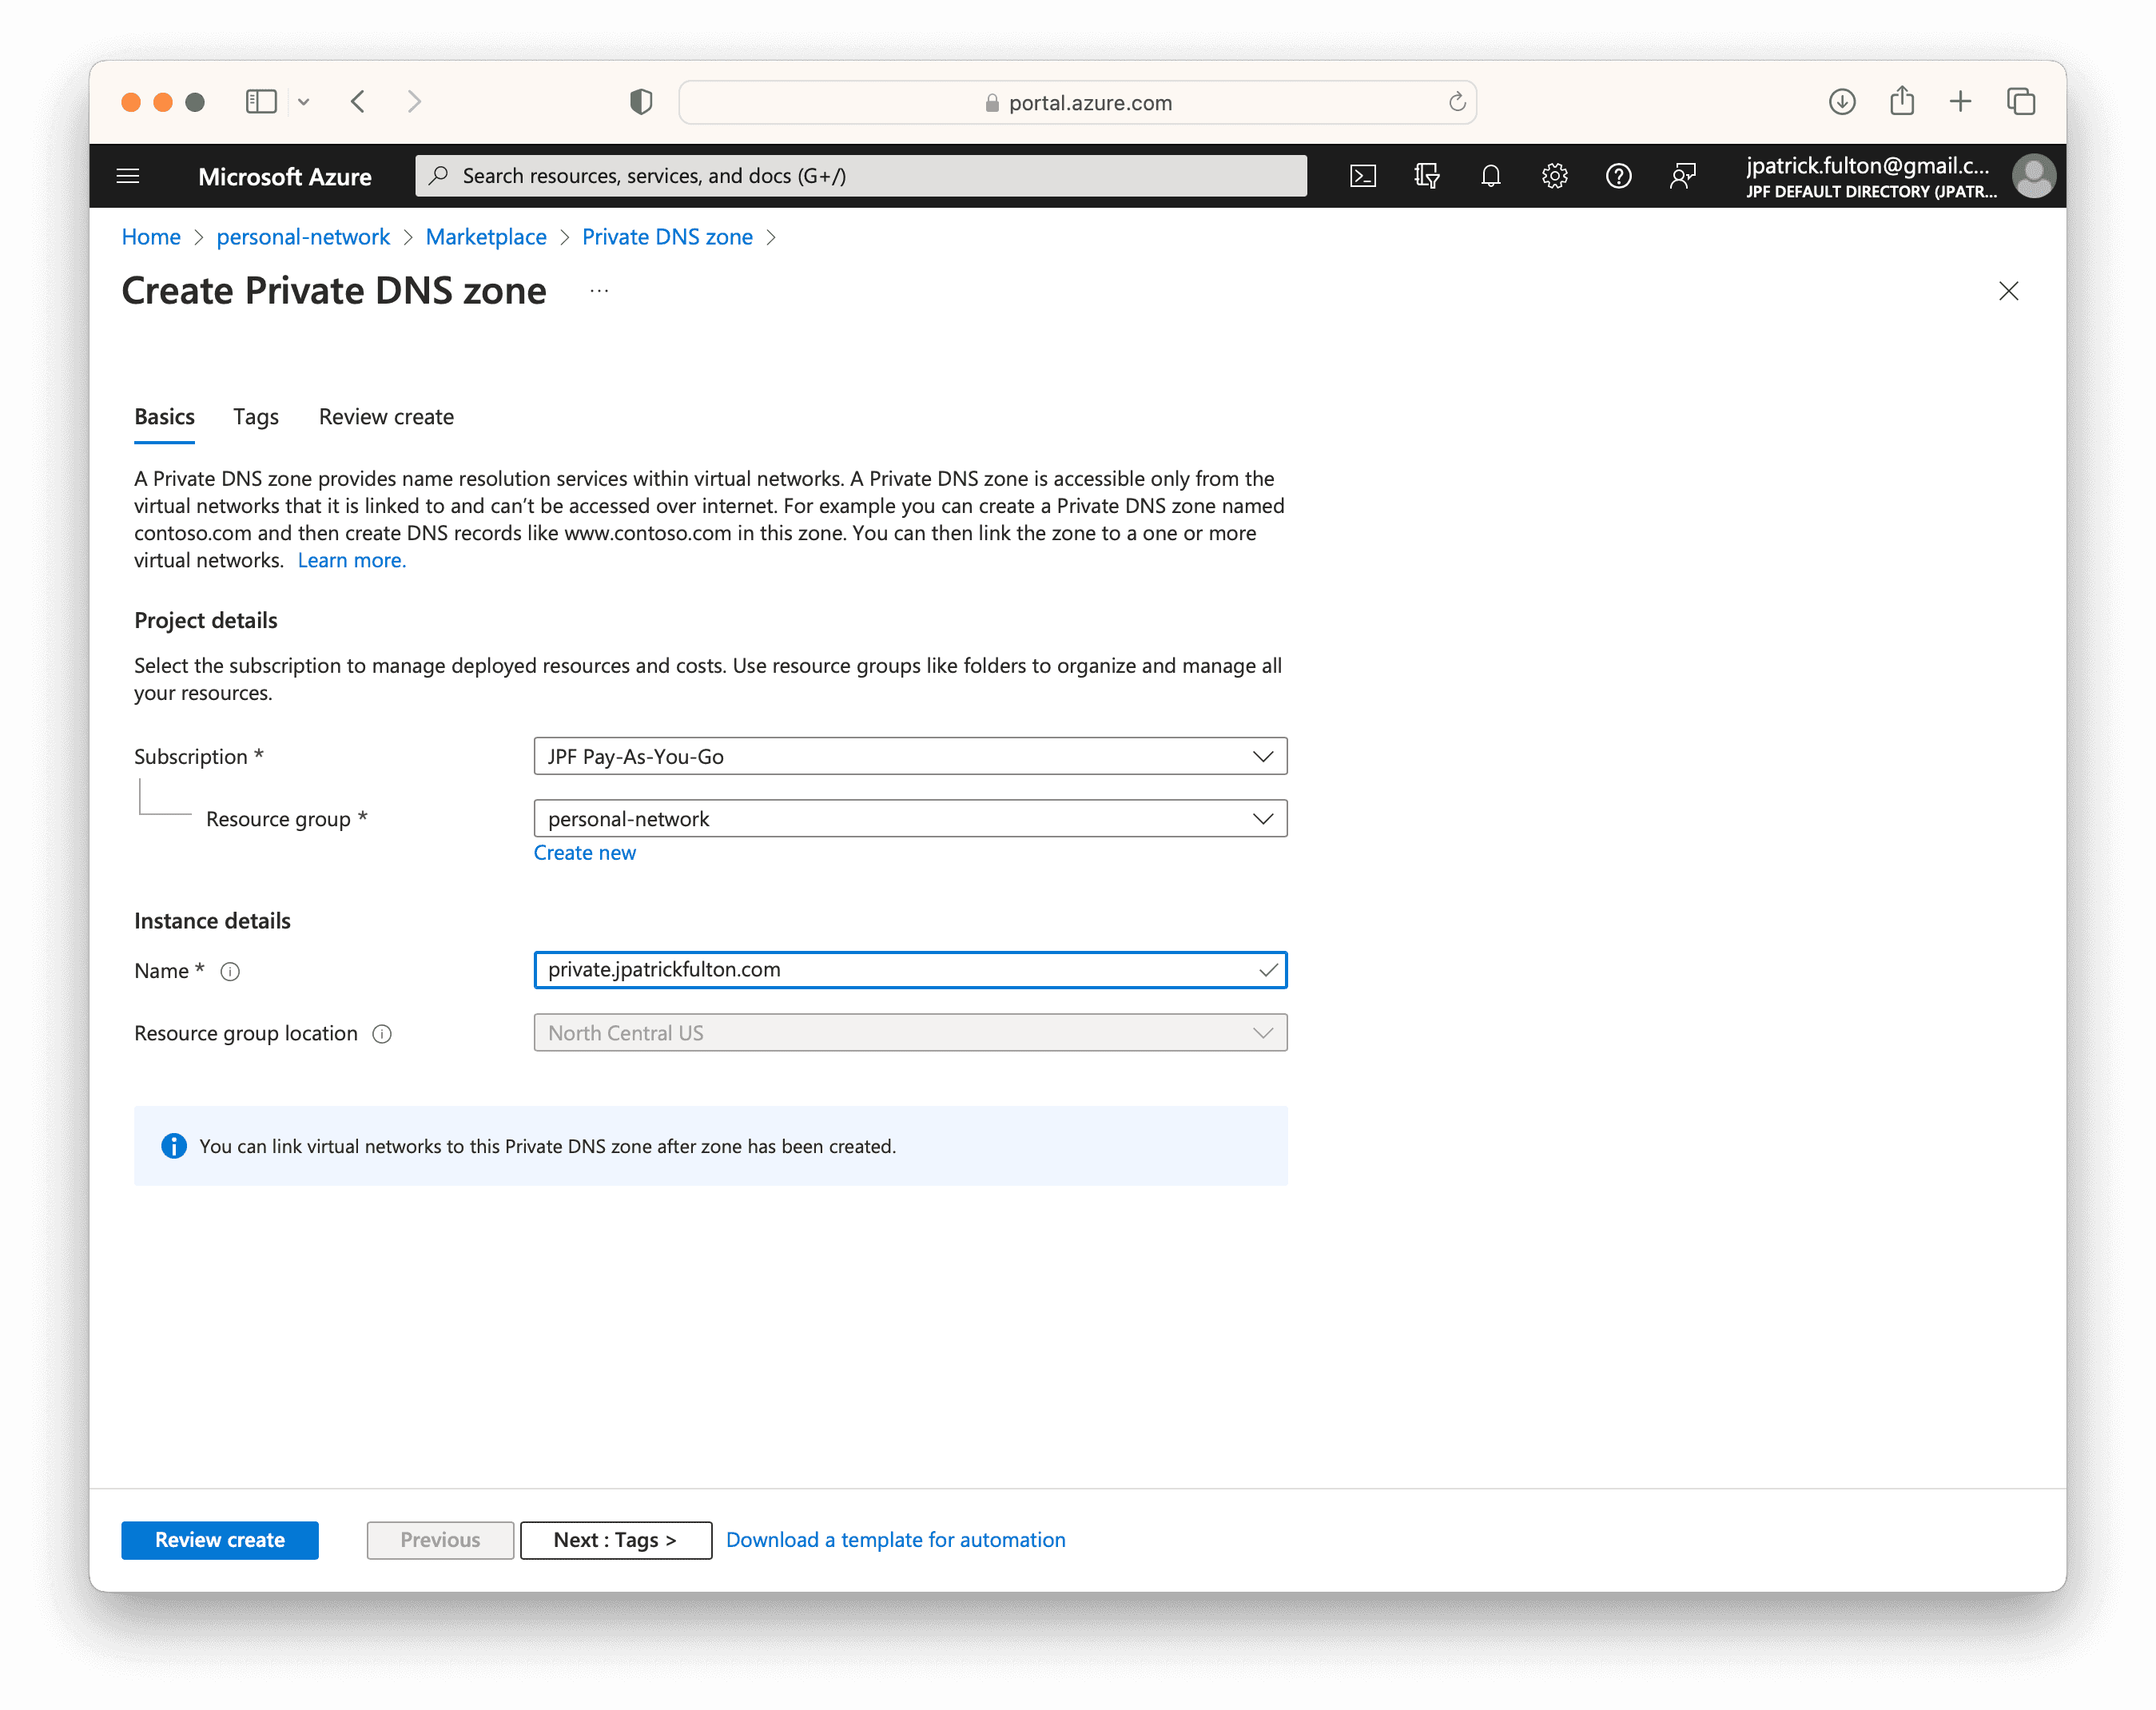
In this project, we wish to resolve machine names against
*.private.jpatrickfulton.com. To start to create the private DNS zone, begin
on the resource group created above and select Create. Search for
private dns zone in the market place and begin the configuration process.
Once you have named the private DNS zone, select Review + create. Linking the zone to virtual networks is performed in a separate step.
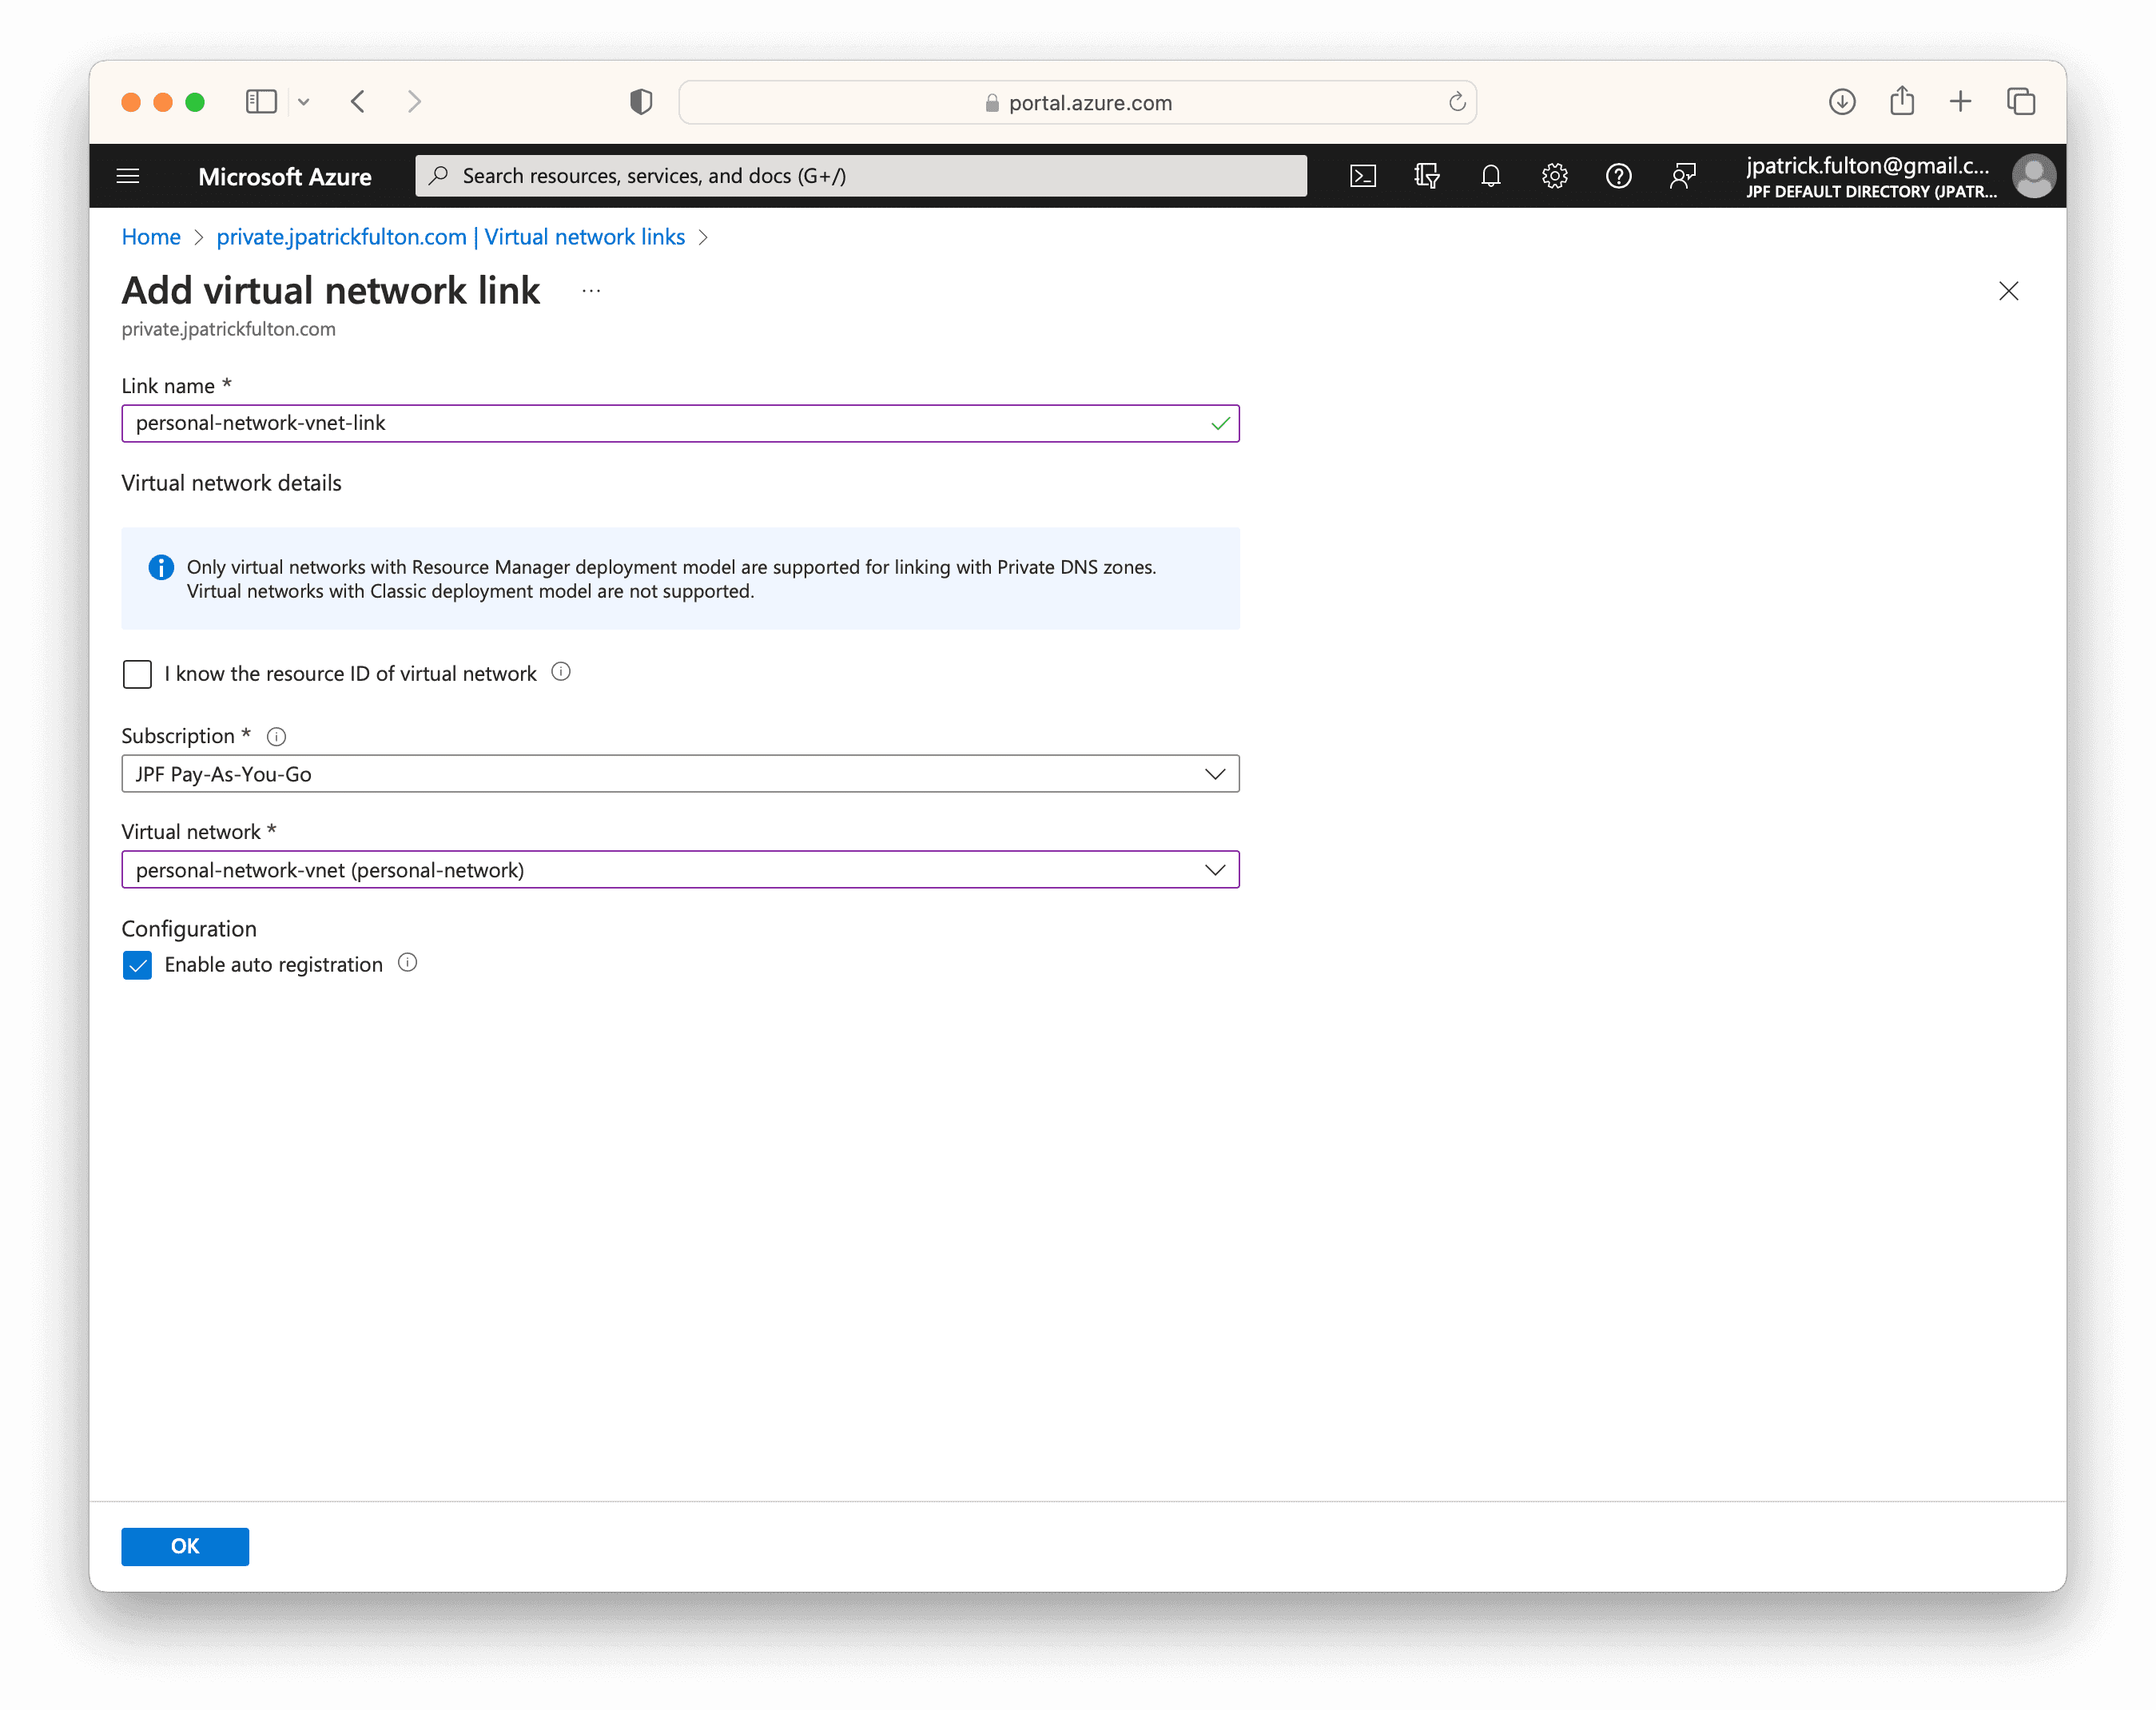
Following the creation of the zone, select Virtual network links from the menu on the right-hand side to begin the linking process.

Provide a link name and select the virtual network created in the steps above. Be sure to select Enable auto registration to allow records to be created and maintained automatically when new resources are added to the virtual network.
Create a NAT Gateway
Most of the resources that will be created in this project will not have associated public IP addresses to utilize when communicating with the internet. As a result, we need a NAT (network address translation) gateway for the network to facilitate outbound connectivity.
Azure NAT Gateway is a fully managed and highly resilient Network Address Translation (NAT) service. You can use Azure NAT Gateway to let all instances in a private subnet connect outbound to the internet while remaining fully private. Unsolicited inbound connections from the internet aren’t permitted through a NAT gateway. Only packets arriving as response packets to an outbound connection can pass through a NAT gateway.
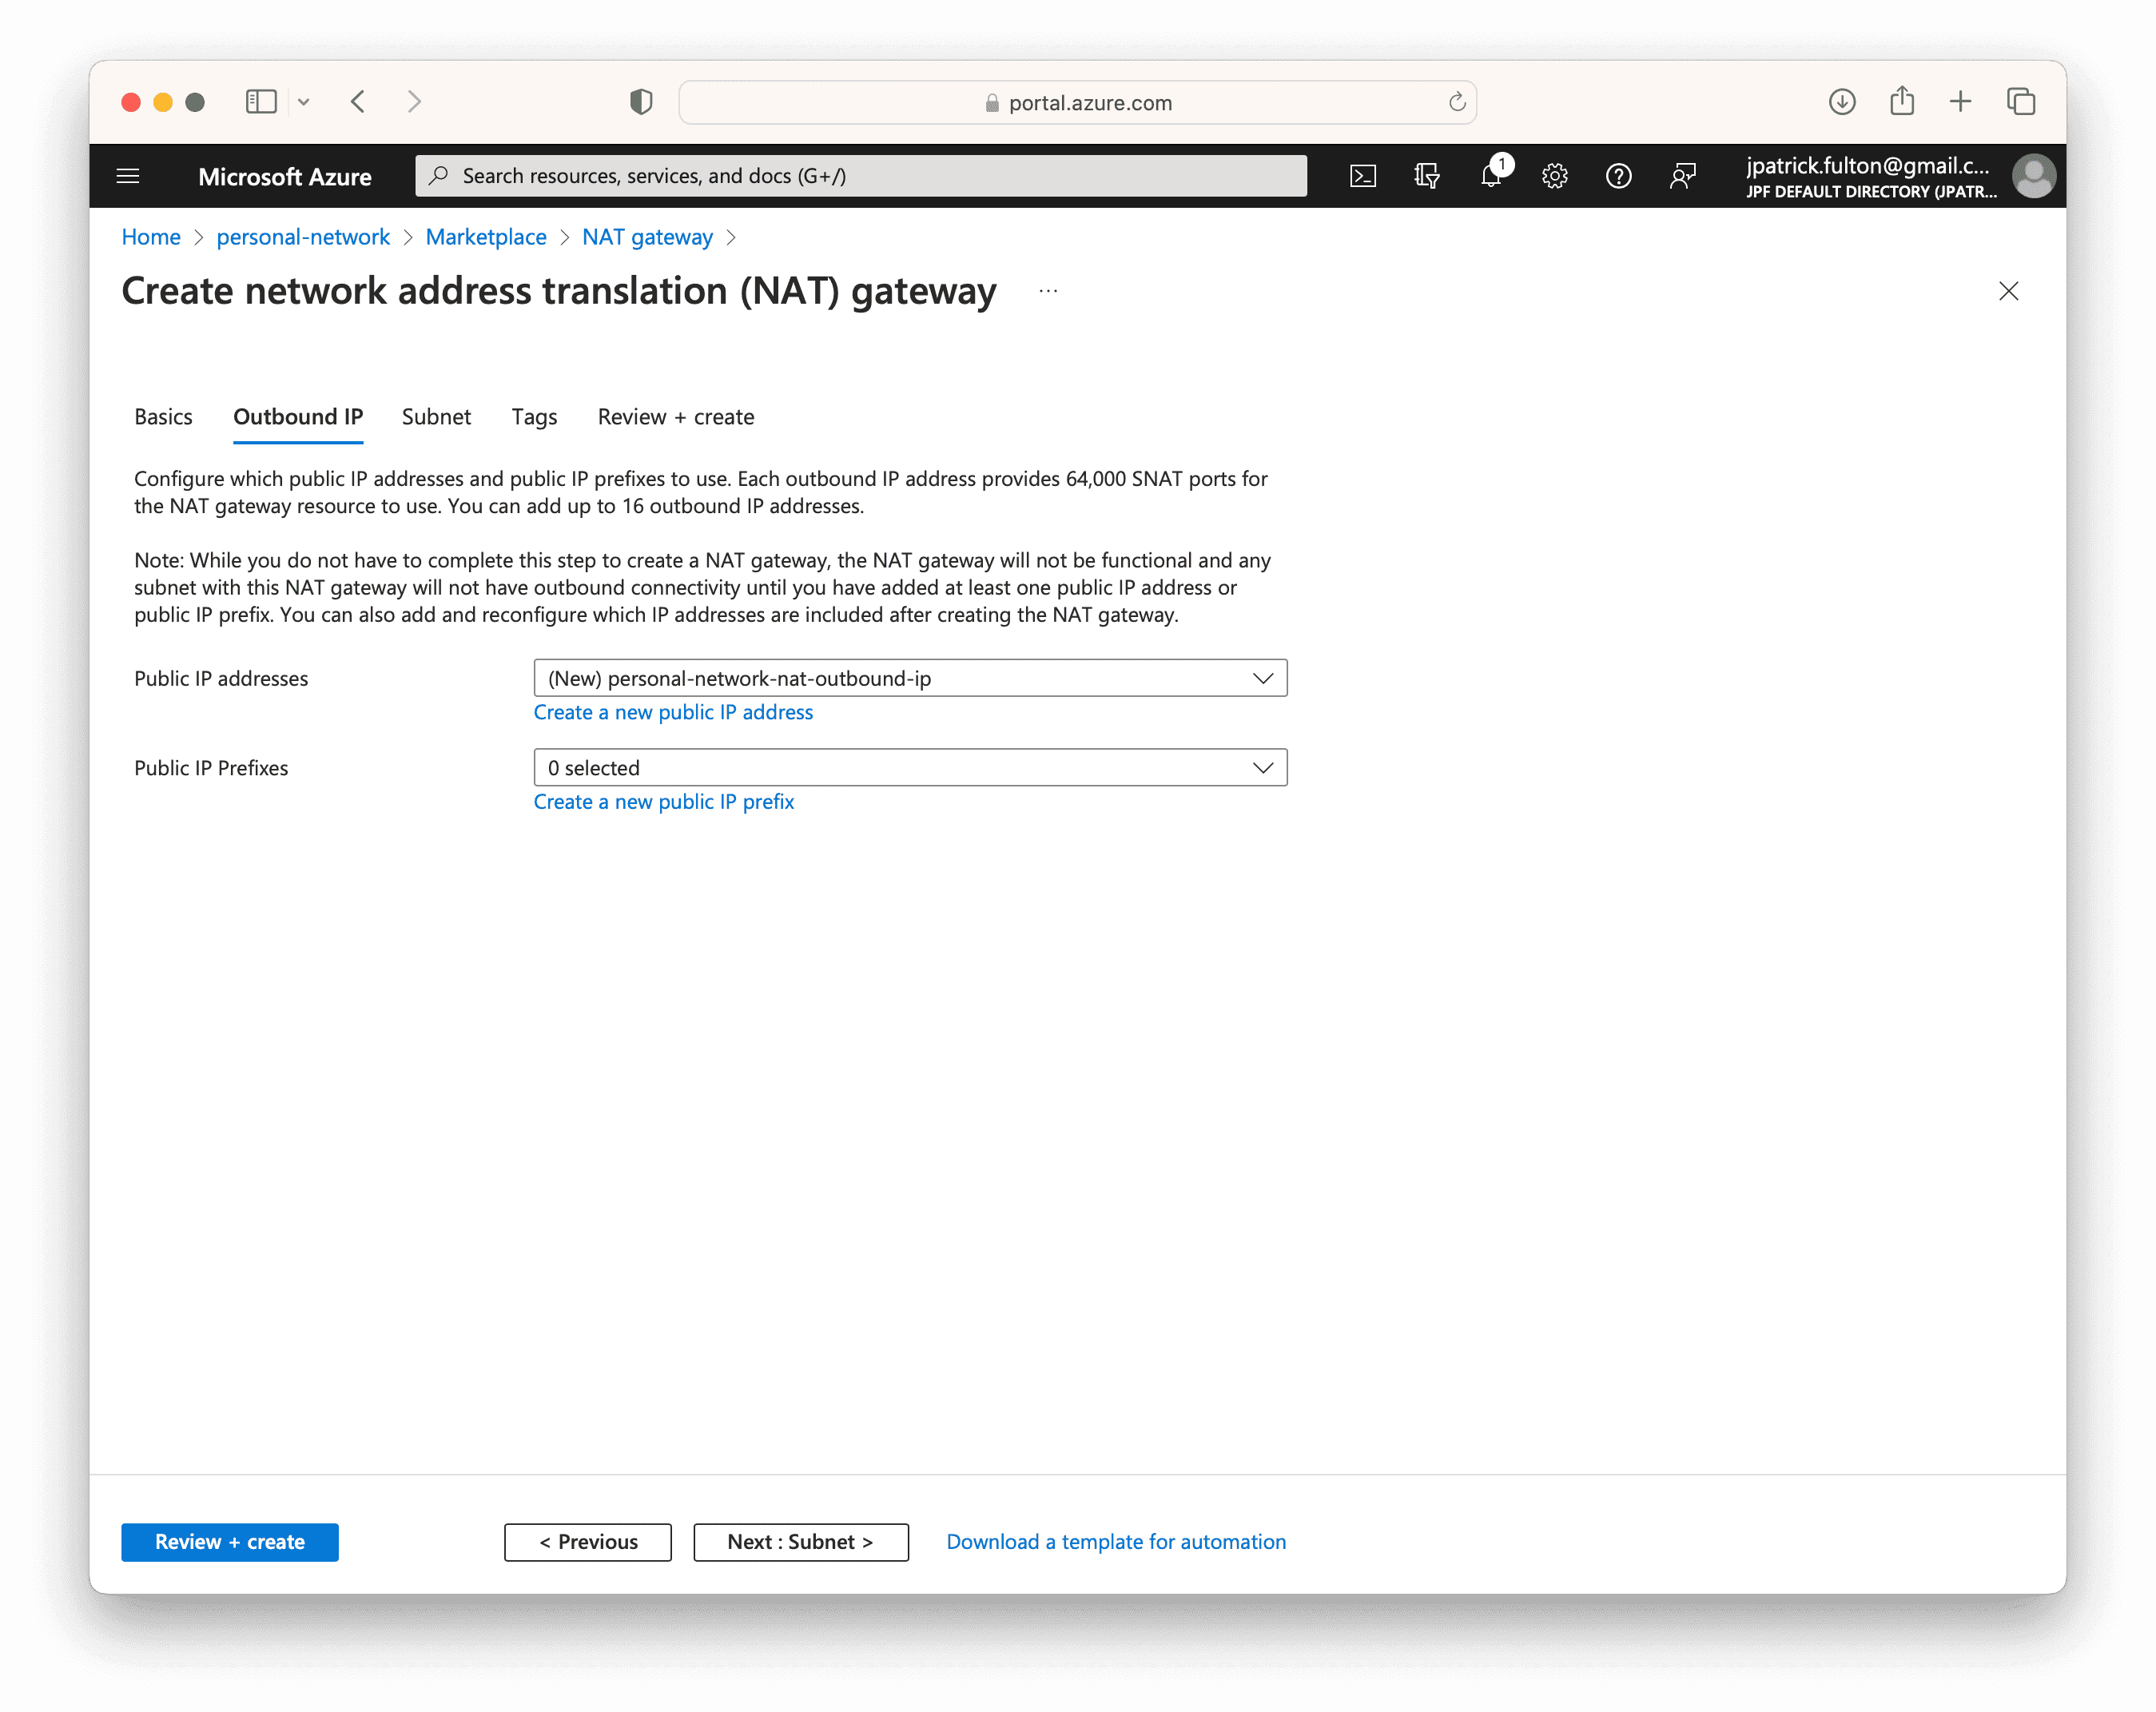
To begin start on the resource group created above and select Create. Search for nat gateway in the market place and begin the configuration process.
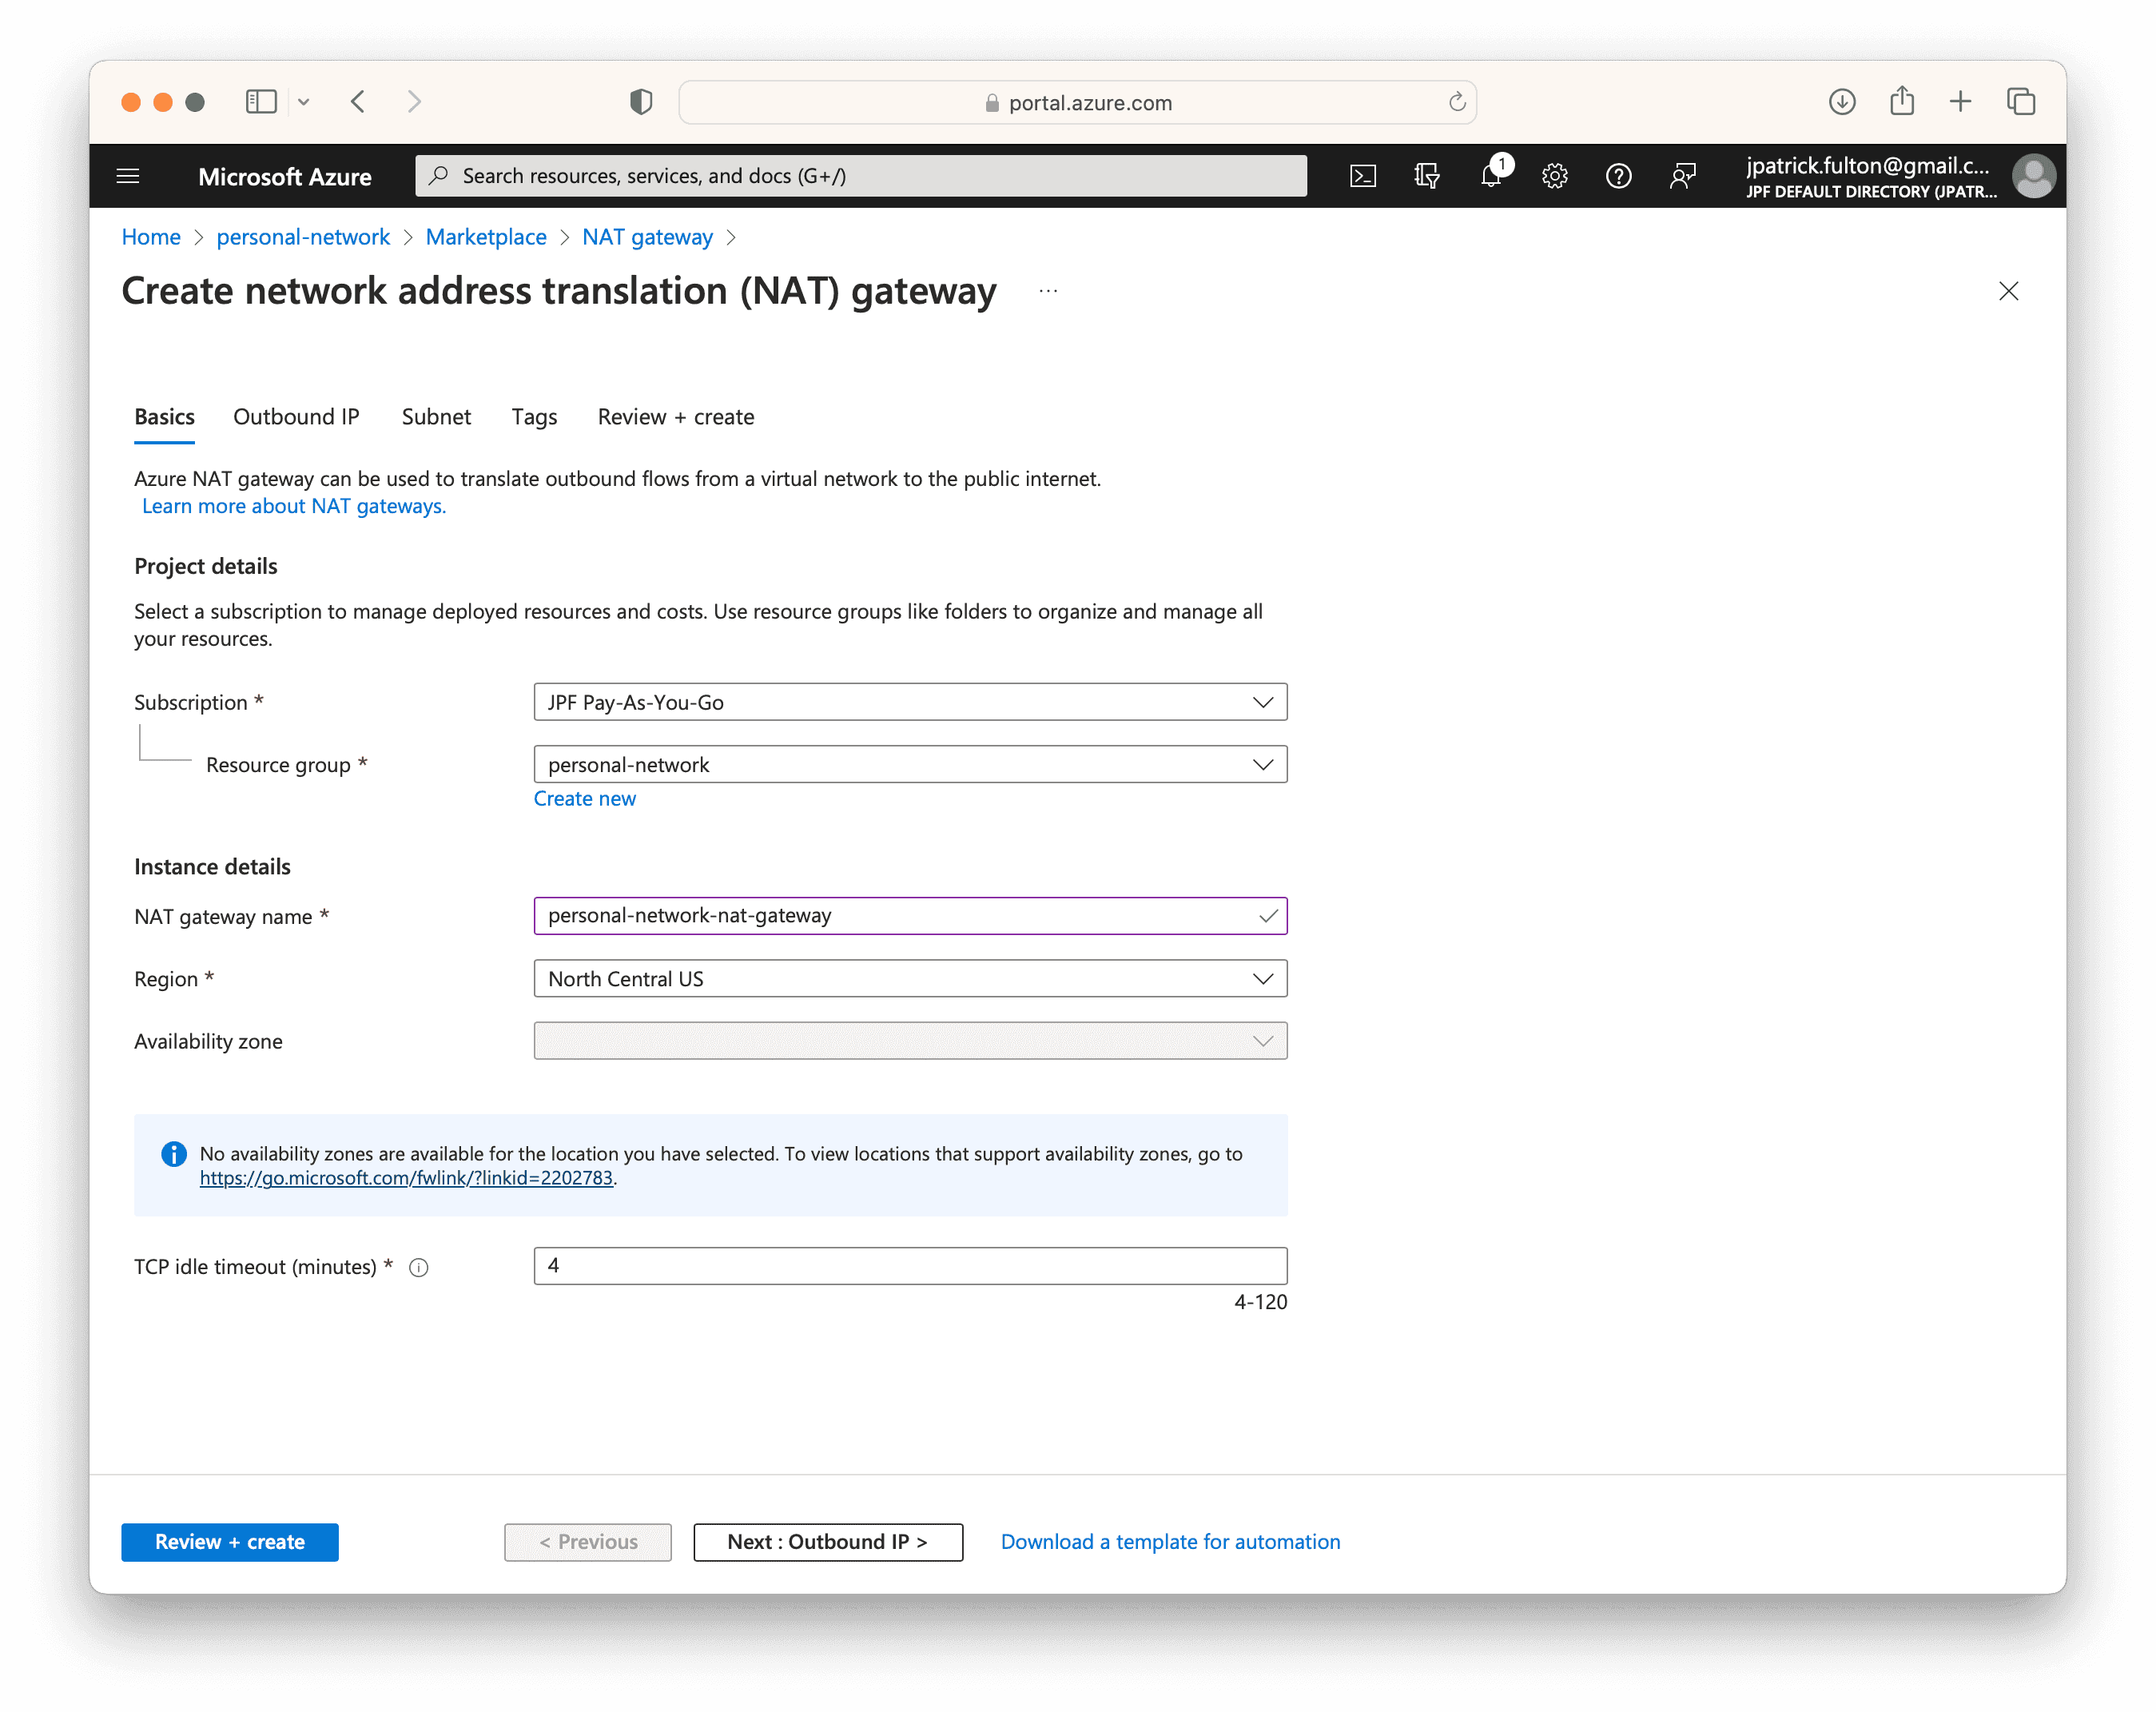
The NAT gateway will require a public IP to be associated with it. Allow a new one to be created and select Next.
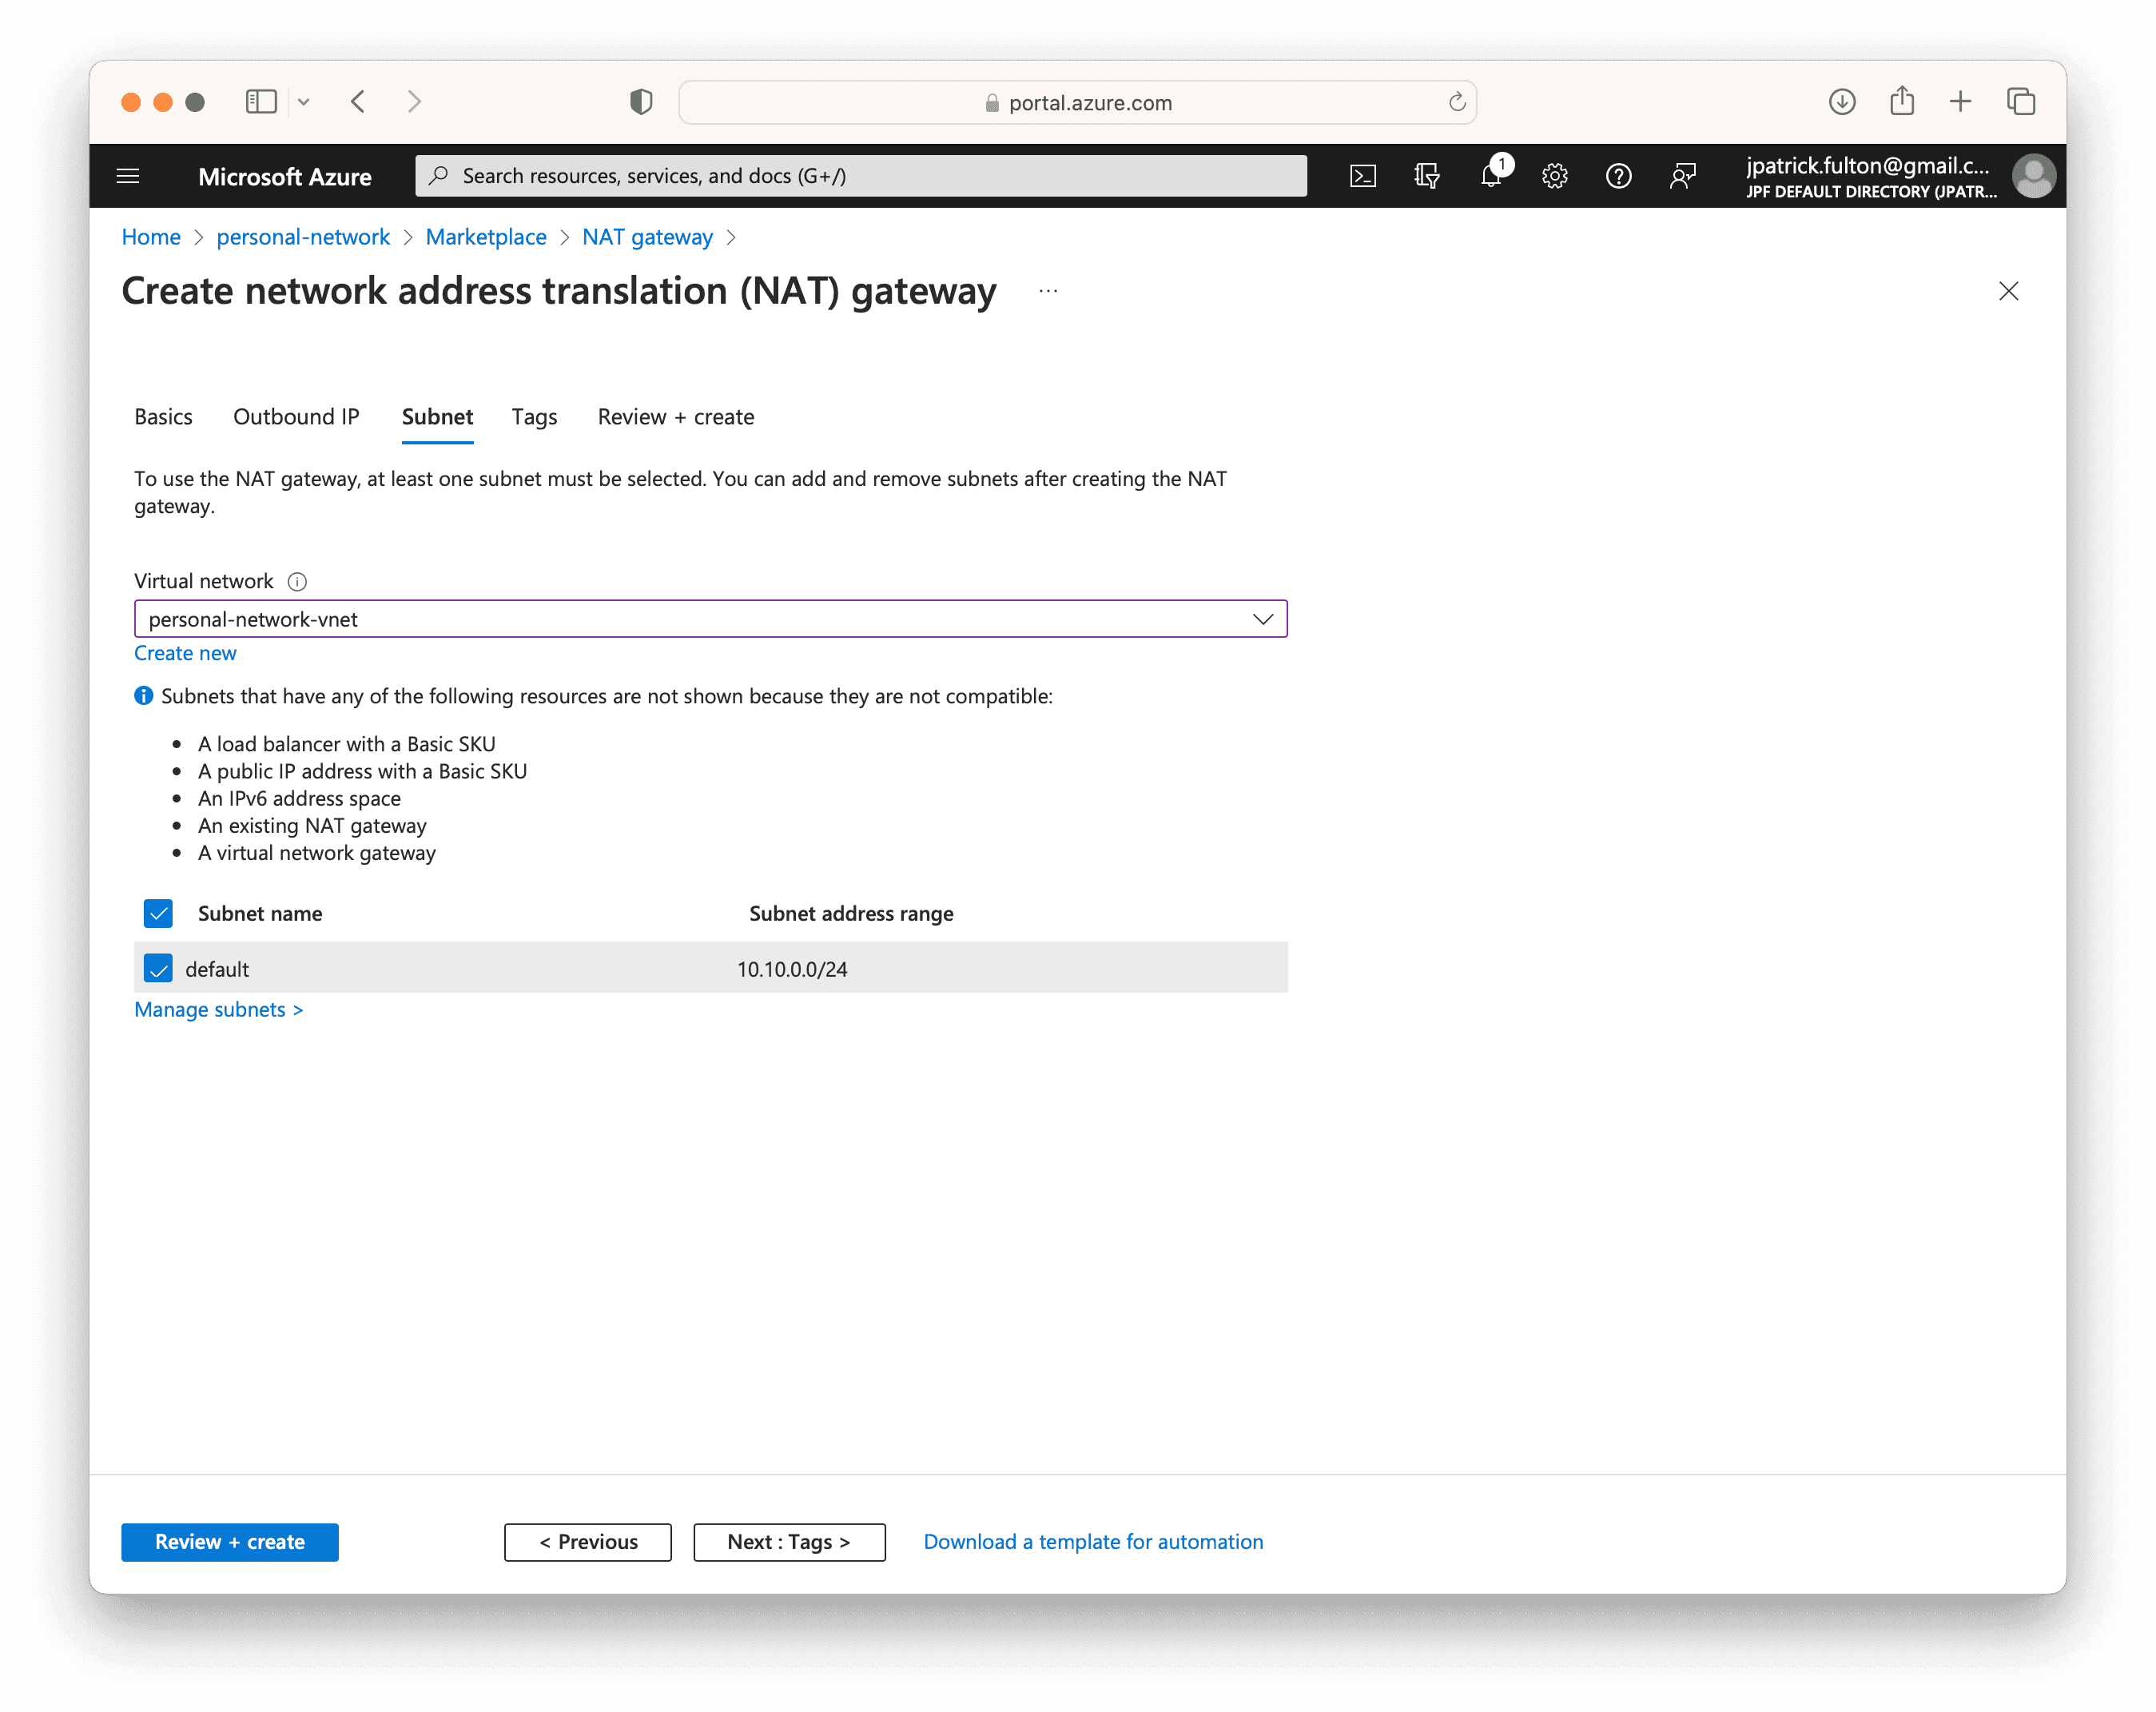
Associate the NAT gateway with the virtual network and subnet created above. Select Review + create to begin the deployment.

Written by J. Patrick Fulton.